Installing the Theme
There are 2 different way to install WordPress that's upload through FTP or installing through WordPress
The first, please extract your donwload file that named main.zip.
Then, please open main > theme folder, you will see the installation ahashop.zip file
1. Upload through Wordpress
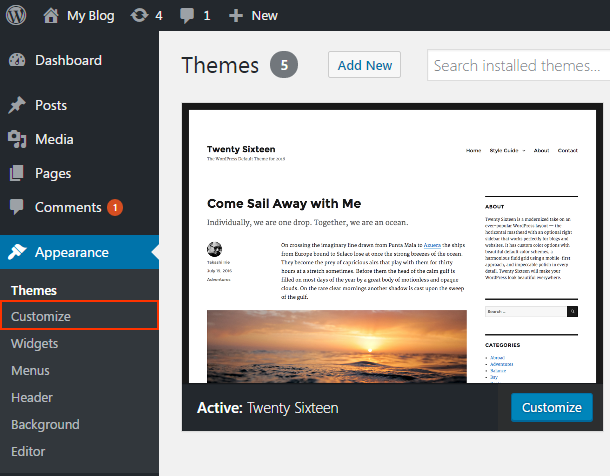
- Go to Appearance -> Themes in the dashboard admin
- Click Add New then Upload the needed theme ahashop.zip file
- Then click Install and wait for a seccond.
- Active the theme after done installing.
2. Upload via FTP
- Log into your site via FTP . (you can use FileZilla software )
- Transfer your unzipped theme to your server in the wp-content/themes
- Upload the un-zipped theme folder
- Go to Appearance > Themes and activate your uploaded theme


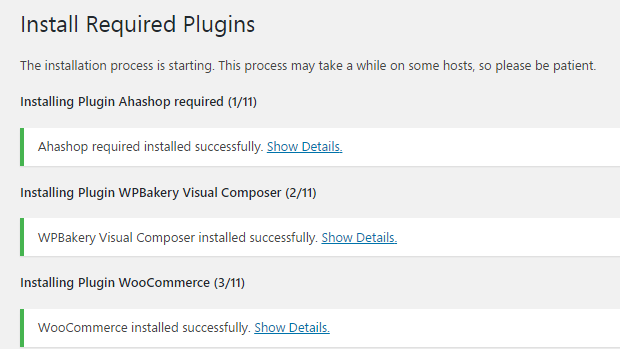
NOTE THAT: The things need to do after installing theme that is install/active some required and recommend plugins
Required Plugins
- Ahashop required
- WPBakery Visual Composer
- WooCommerce
Recommend Plugins
- Breadcrumb Trail
- Flexible Posts Widget
- Latest Tweets Widget
- MailChimp for WordPress
- One Click Demo Import
- YITH WooCommerce Compare
- YITH WooCommerce Wishlist

How to use the example content
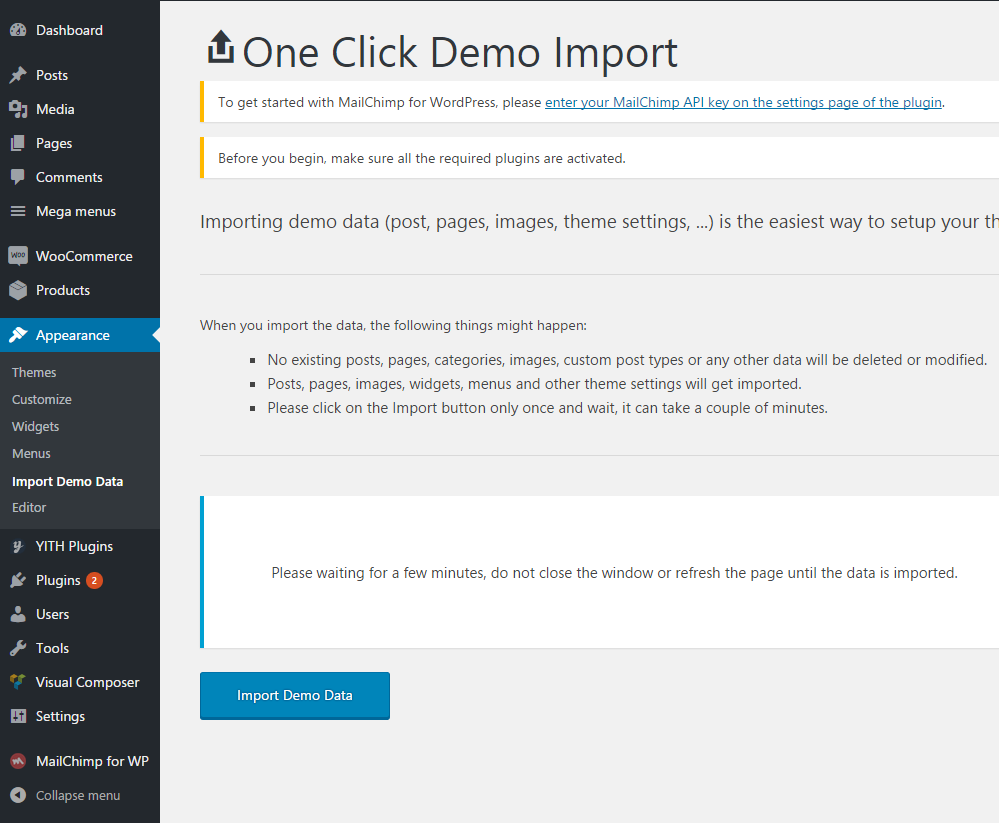
Let's go next step after you make sure all the required above plugins are activated,
Go to Appearance > Impage Demo Data, click Button in there. Please waiting for a few minutes, do not close the window or refresh the page until the data is imported.
Using Theme Customize
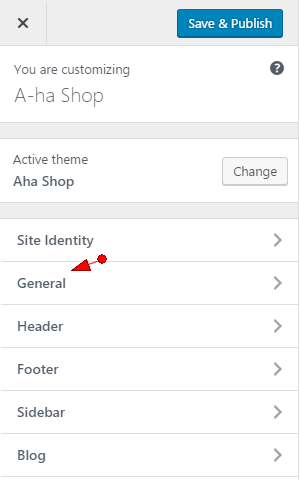
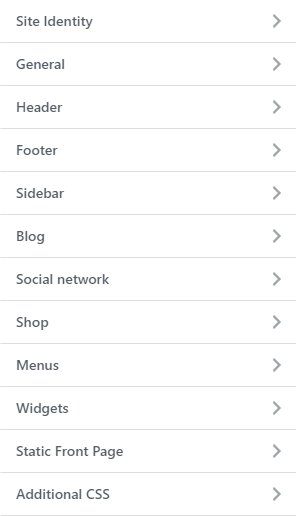
The first thing to do is that open the Theme Customizer. To do that, just go to Appearance > Customize menu in the WordPress dashboard admin.
Or you can also access the Customize mode in the admin top bar on any page front-end of your website.

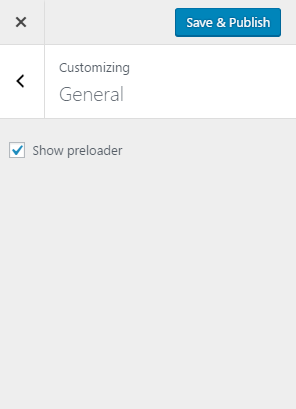
Disable Preload
On/Off Preloader so you can config here Customize > General
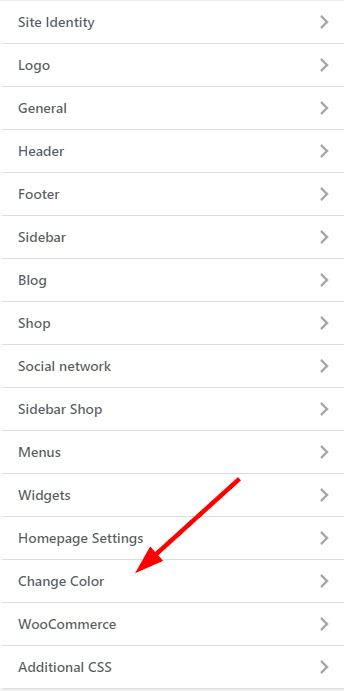
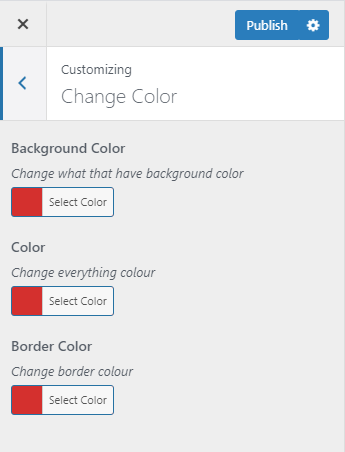
Change Colour
Please got to Customize mode, click Change Color tab and you can change color of text, link, button ....
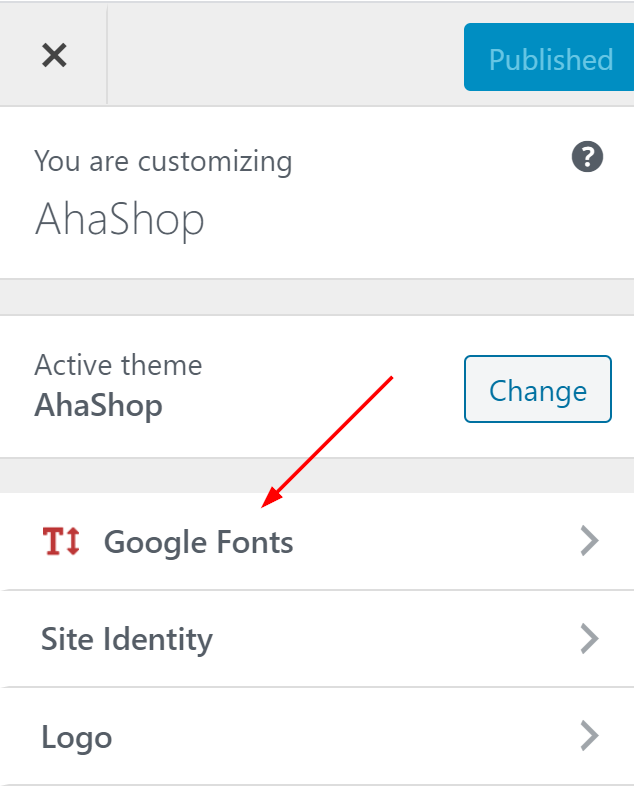
Change Font
Here, we will use another plugin from WordPress.
- Install & active this plugin: https://wordpress.org/plugins/olympus-google-fonts/
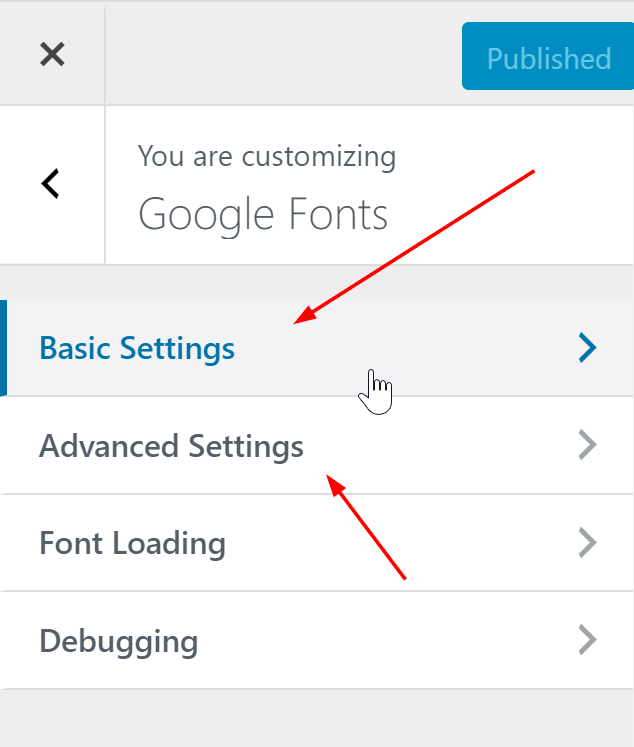
- Go to Customize > Google Font
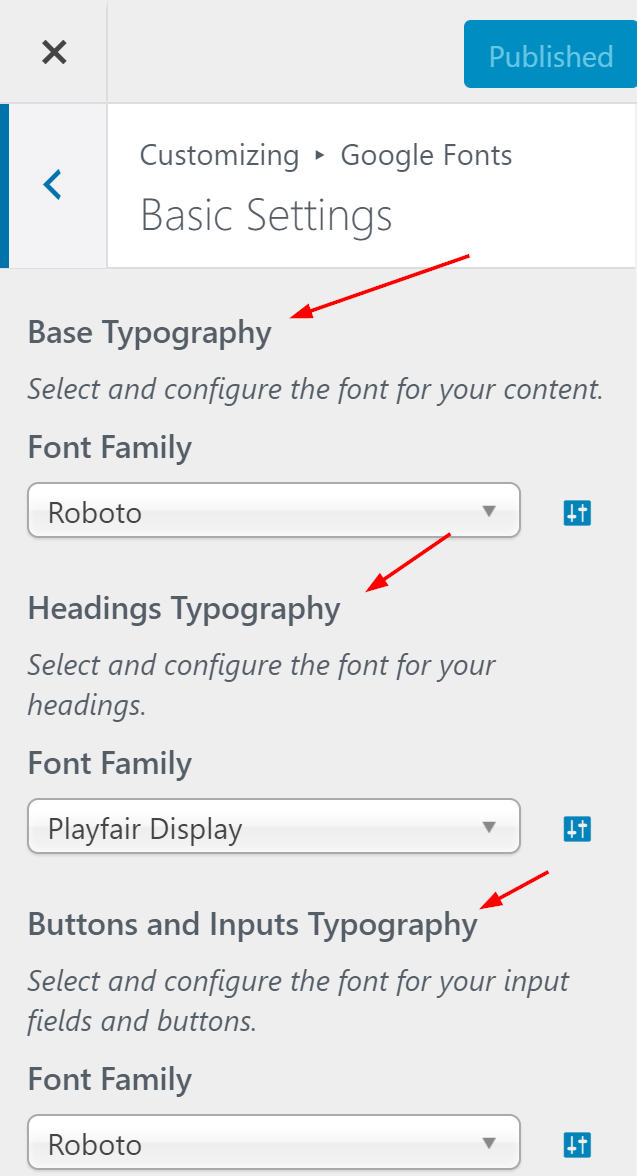
- Basic Settings: You can change font content, title or button here
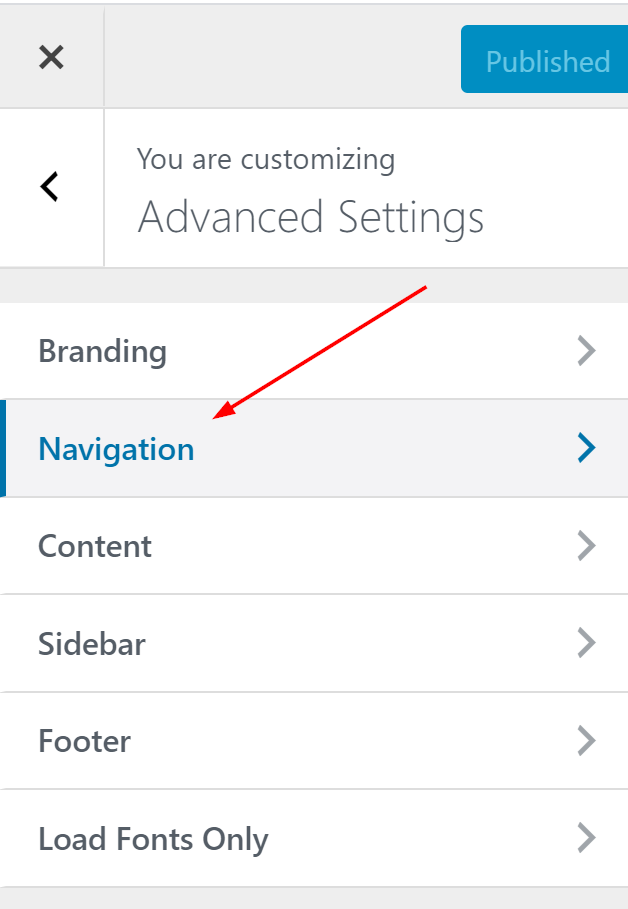
- Advanced Settings > Navigation: you can change font for Menu here
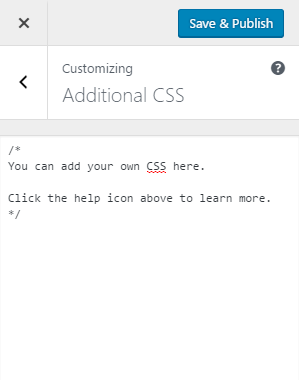
Additional CSS
Here's where you can add any a snippet of code CSS to achieve your styles.
Update Theme
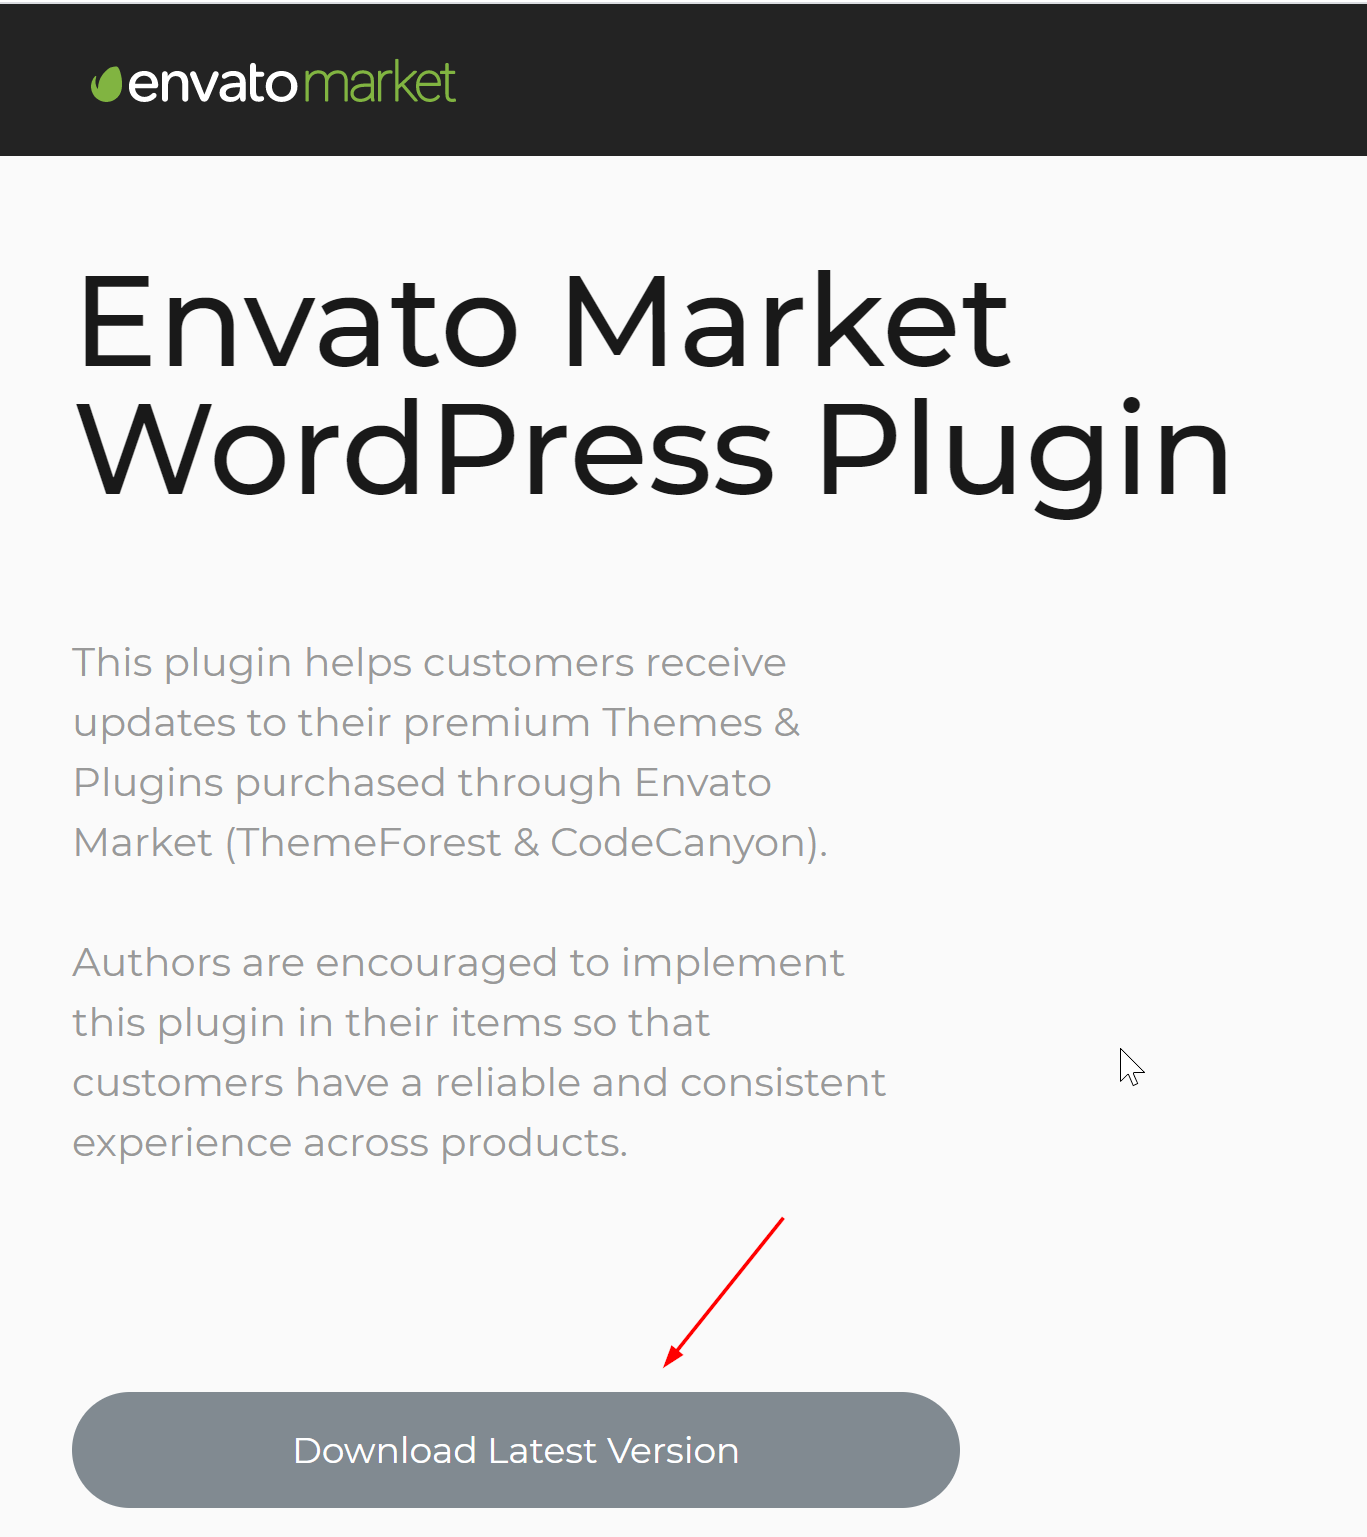
In this section, you will know on how to update my theme without downloading manually from Envato and upload the new version to your site.
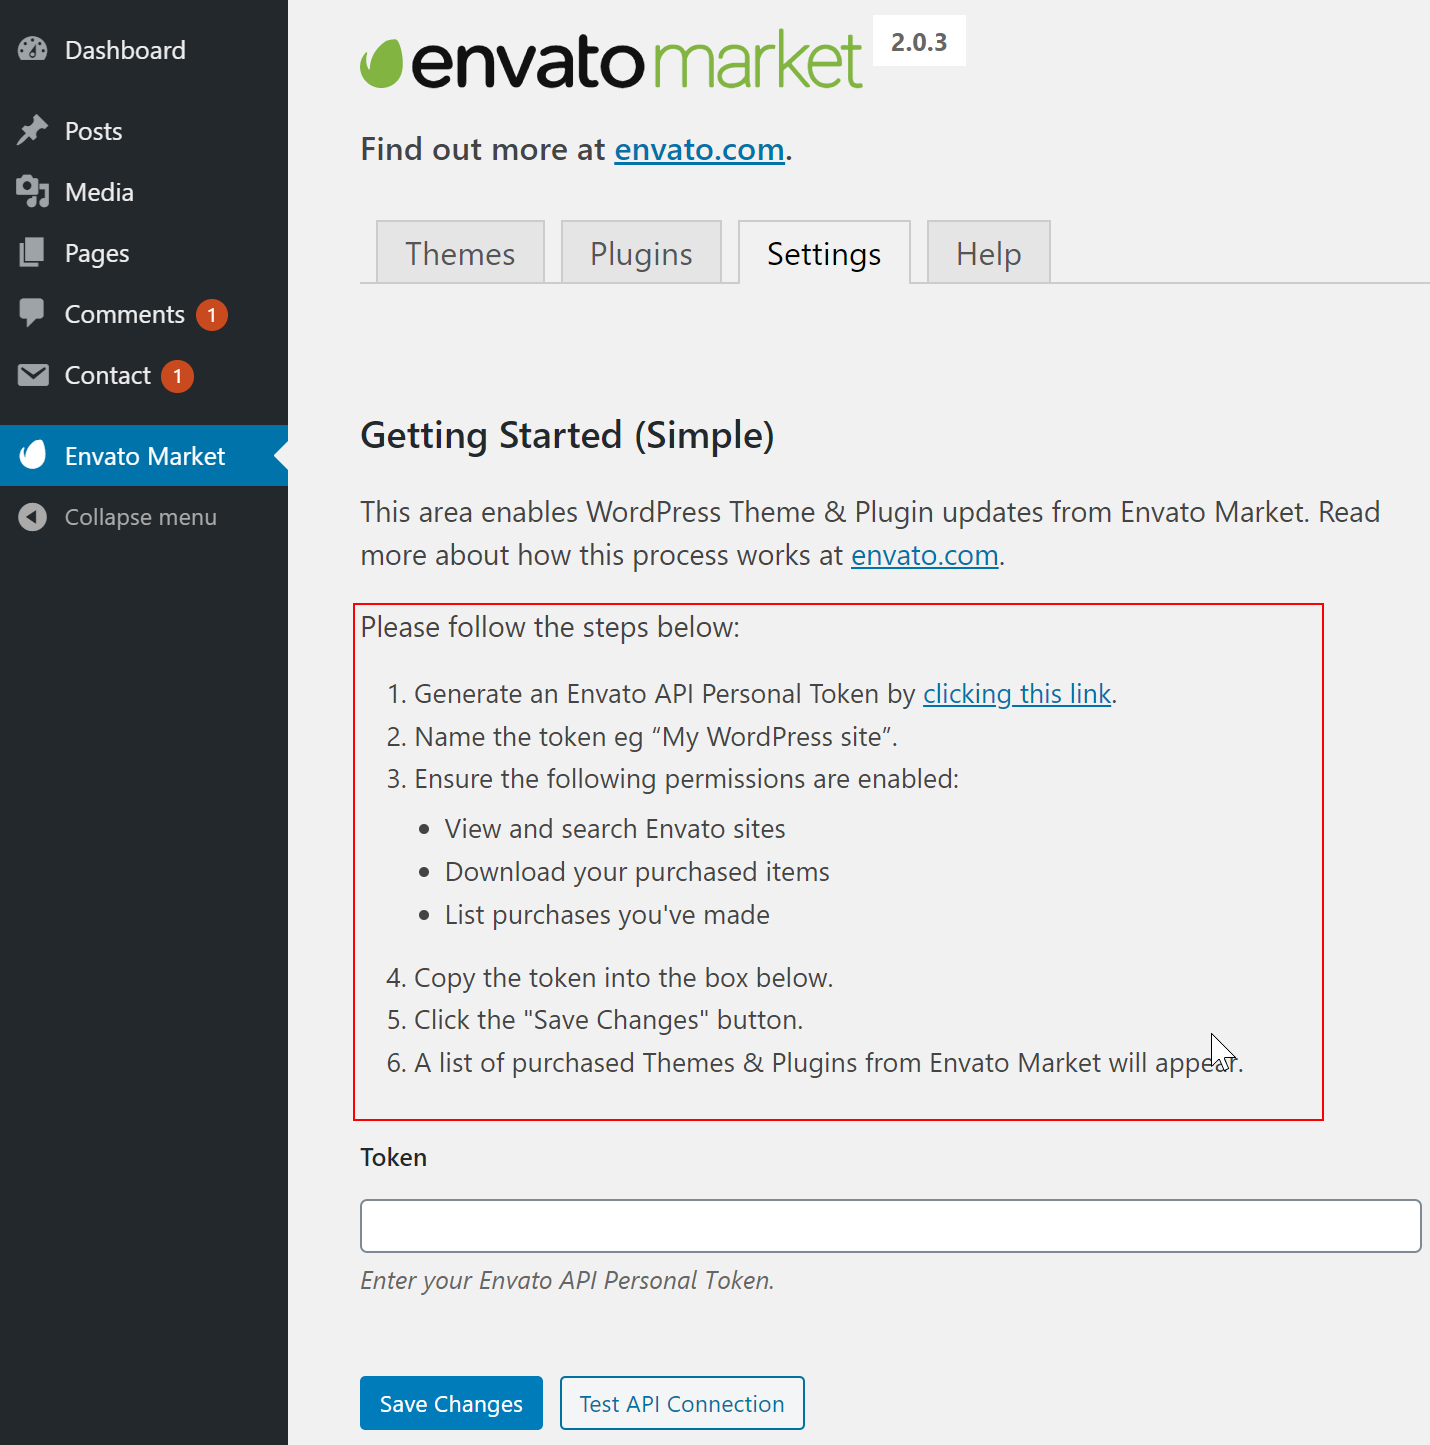
- So the first, we need to install Envato Market plugin, please download here: https://envato.com/market-plugin/
- Then you have to get Token Key from Envato. So easy, just follow the guide steps in plugin interface like the screenshot below
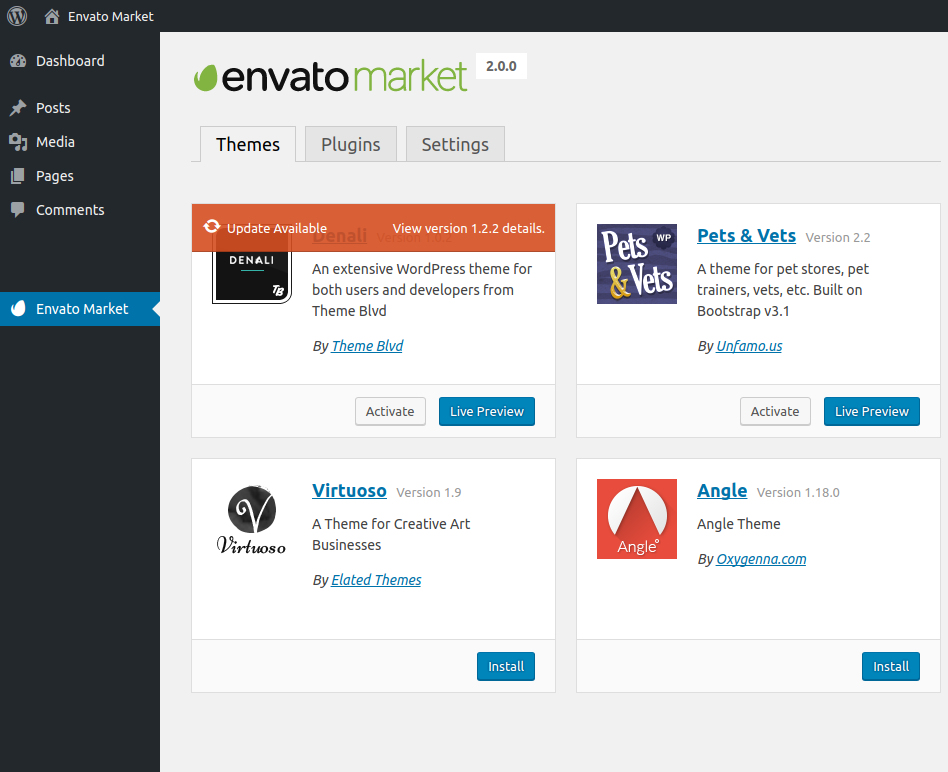
- After confirm Token key, please go to Theme/Plugin tab, you will see my theme at there.
- Click Update if there is a new version from my theme.
Create new Menu / Navigation
Just go to Appearance > Menus
Primary menu: This location will be placed below the logo image
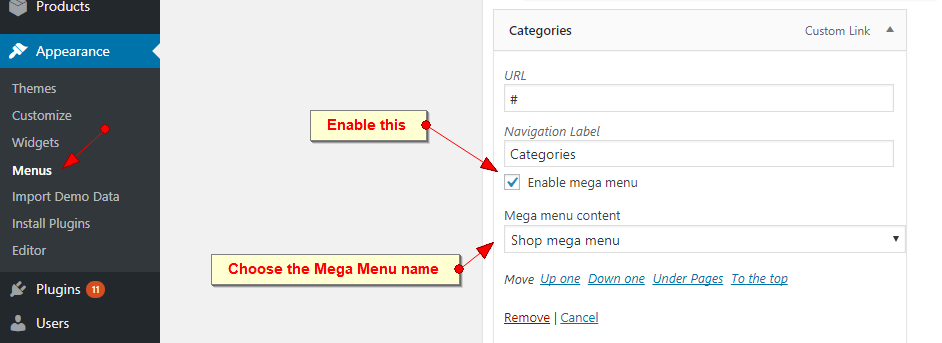
Create Mega Menu
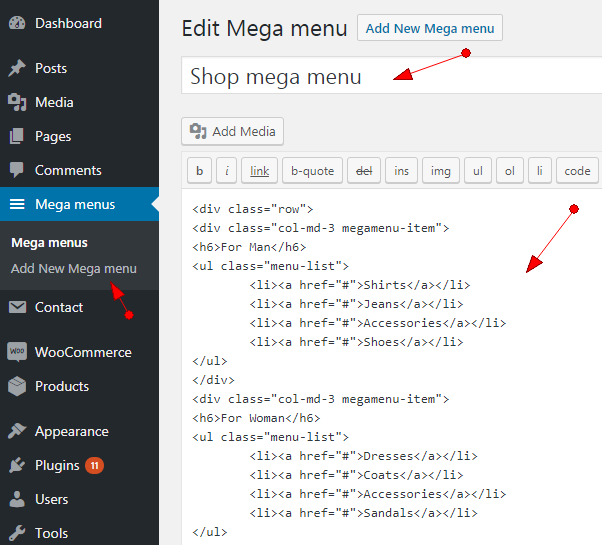
- Go to the Dashboard admin and click Add New Mega Menu
- Fill in Mega menu name
- Prepare text in Editor (use this example: https://codepen.io/anon/pen/JywJbg)
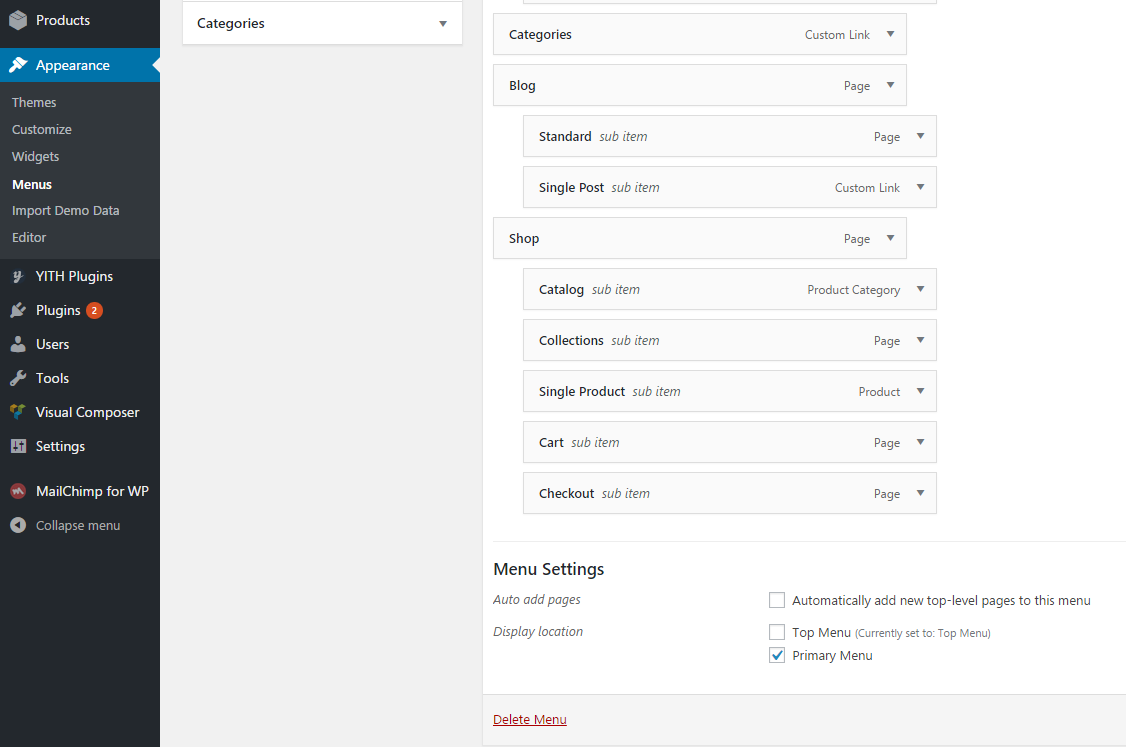
- Continue got to Appearance > Menus
- Enable and choose the Mega menu name
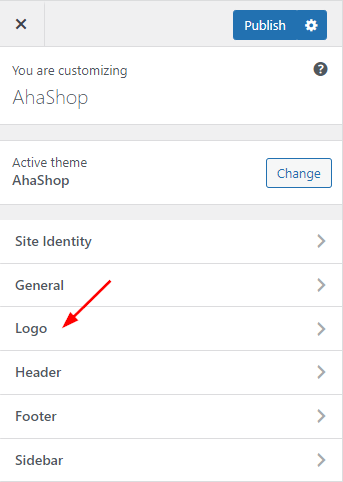
Change Logo
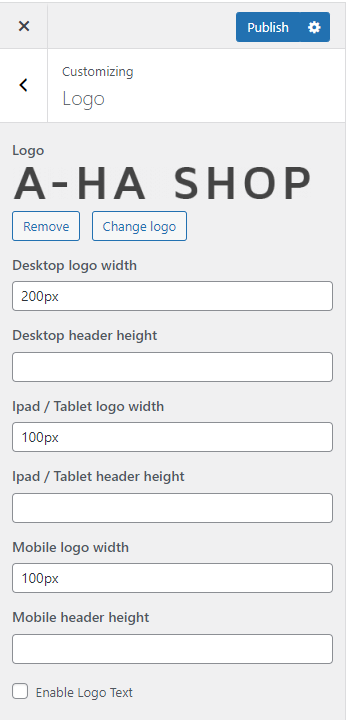
Go to Customize > Logo
- Desktop/PC, Ipad/Tablet, Mobile width: change the width of Logo show on Desktop/PC, Ipad/Tablet, Mobile device
- Desktop/PC, Ipad/Tablet, Mobile header height: change the header height to match with Logo to get a nice Header
- Enable Logo Text: Tick this checkbox, you can create Logo Text without designing a Logo image.
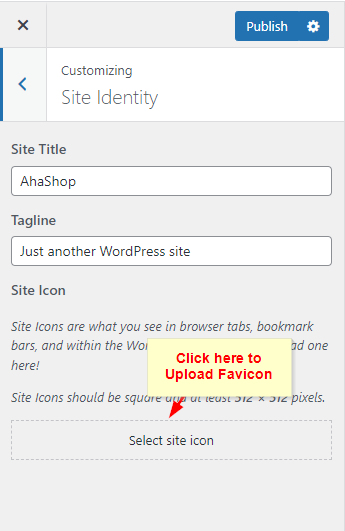
Change Favicon
Go to Customize > Site Identity
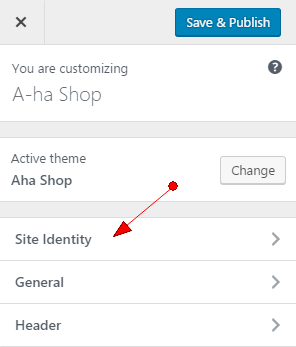
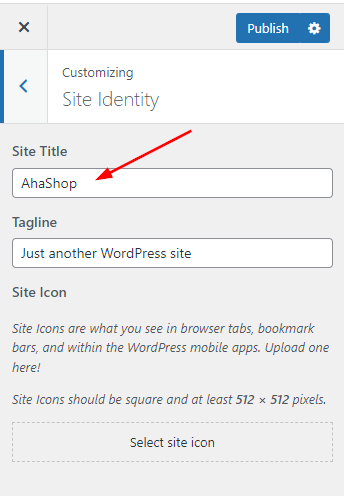
Change Title Site
Go to Customize > Site Identity
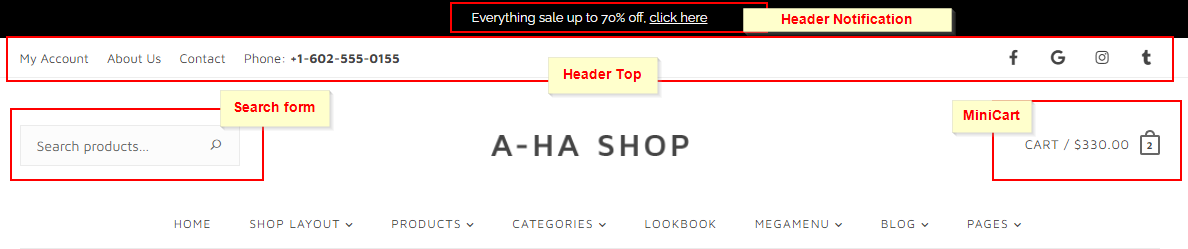
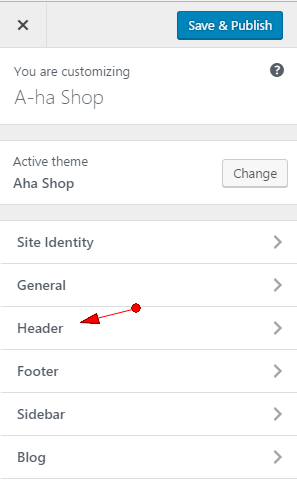
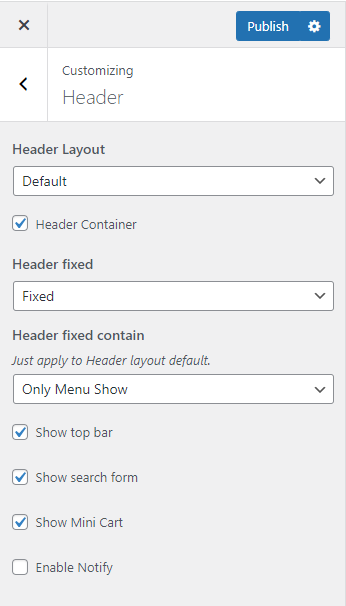
Header Customize
Header is one of most important on your site, so there are some config here.
- Header Layout: Changing the position of Logo & Menu with the different layout
- Header Container: UnCheck this if you want to the stretch header 100% width of the screen
- Header Fixed: Fixed/None option header fixed when scroll website
- Show top bar: On/Off Header Top
- Show search form: On/Off search box
- Show mini cart: On/Off mini cart
- Enable notify: On/Off notification on Header
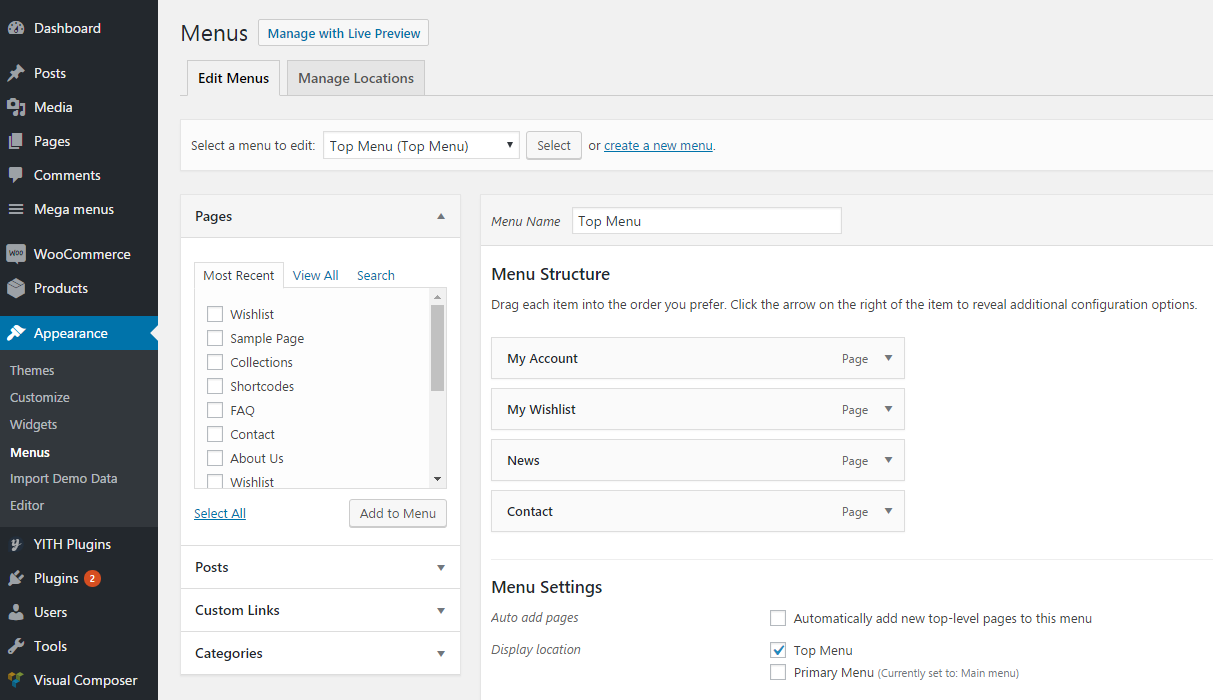
Menu Header Top
Please make sure that you configed to show Header Top through this guide
Then go to Appearance > Menus to create new menu and tick the TopMenu checkbox
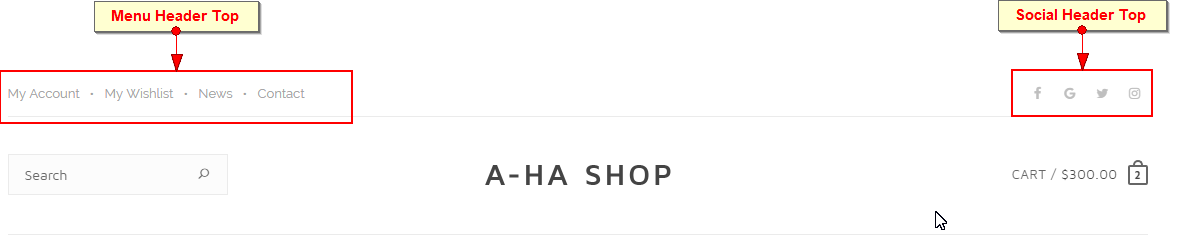
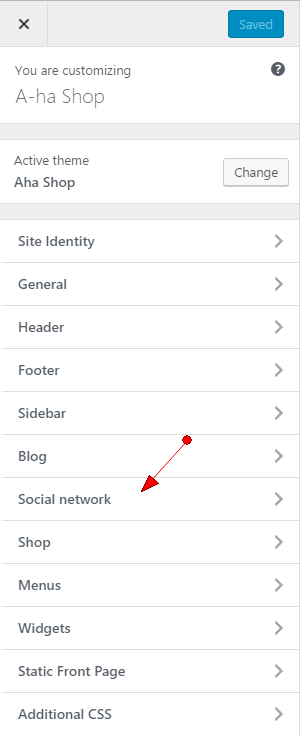
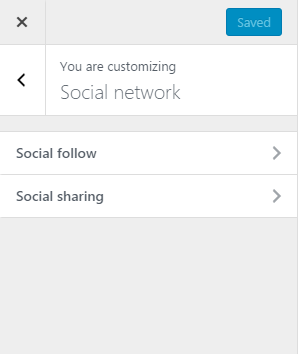
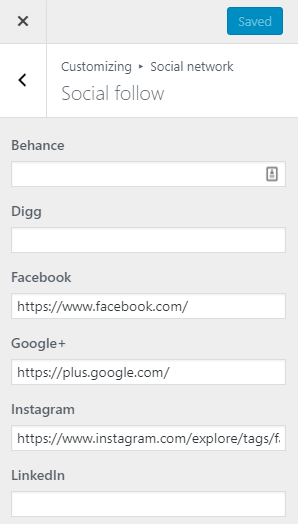
Social Follow Header Top
Please make sure that you enable Header Top in this guide
Go to Customize > Social Network > Social Follow and fill in your social links in there
Hide Cart/Basket Box
Please go to Customize > Addition CSS (see this guide) then paste the code following to hide cart box
							.nav-cart,
							.menu-cart-amount {
							display: none;
						}
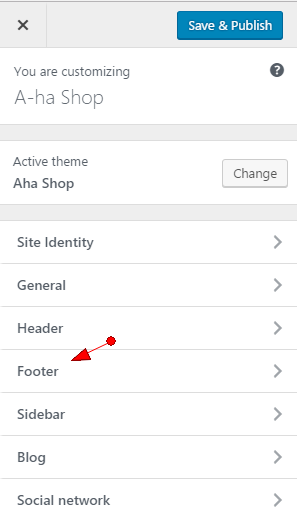
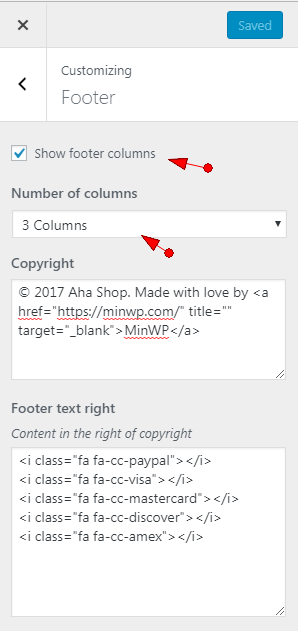
Change Copyright
Go to Customize > Footer and change to your copyright brand
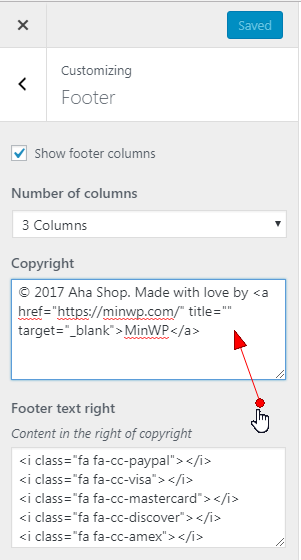
Footer Payment
Please add the customize code below into Footer > Footer text right box
						<i class="fab fa-cc-visa"></i>
						<i class="fab fa-cc-mastercard"></i>
						<i class="fab fa-cc-discover"></i>
						<i class="fab fa-cc-amex"></i>
Footer Social
The easy way it that you use MinWP Socials widget and insert your need social link
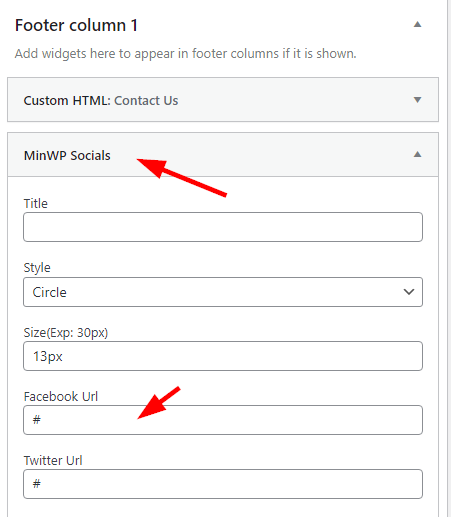
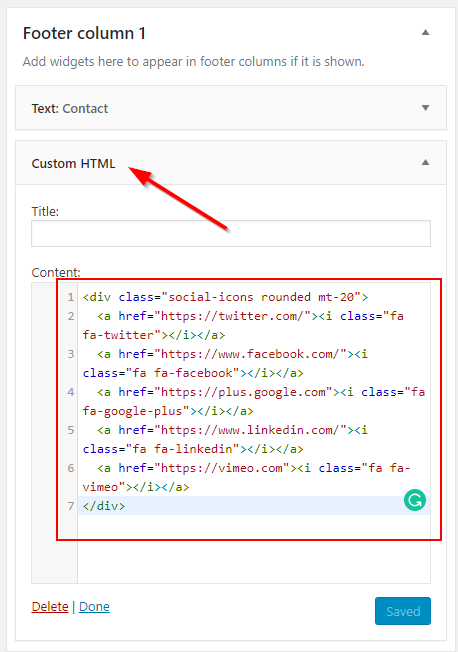
OR you can add the customize code below into Custom HTML widget
						<div class="social-icons rounded mt-20">
						<a href="https://twitter.com/"><i class="fab fa-twitter"></i></a>
						<a href="https://www.facebook.com/"><i class="fab fa-facebook-f"></i></a>
						<a href="https://plus.google.com"><i class="fab fa-google"></i></a>
						<a href="https://www.linkedin.com/"><i class="fab fa-linkedin-in"></i></a>
						<a href="https://vimeo.com"><i class="fab fa-vimeo-v"></i></a>
						</div>
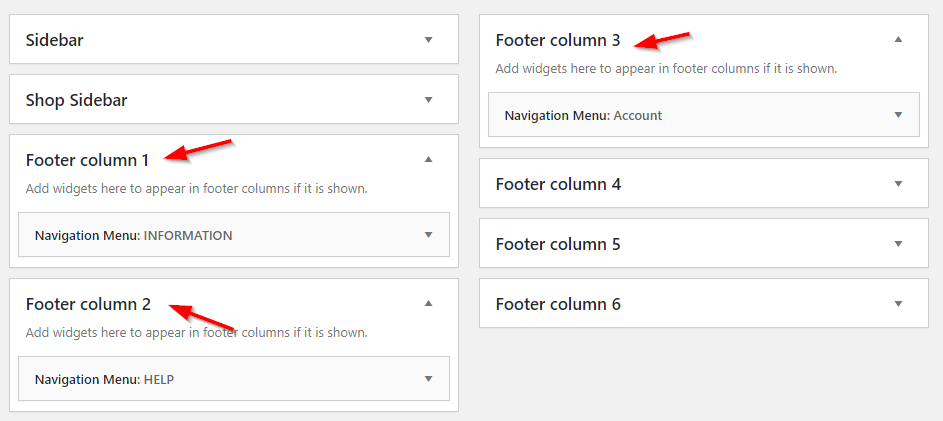
Footer Widgets (footer columns)
Go to Customize > Footer and choose the number of column that you want to show on your website.
Then get back the dashboard admin interface, go to Appearance > Widgets, drag and drop widgets into each Footer Column.
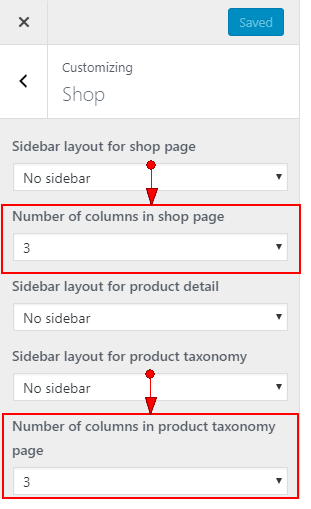
Change Product Column
Go to Customize > Shop, Here you can change the number of column of shop page such as list products pages, categories/tags pages
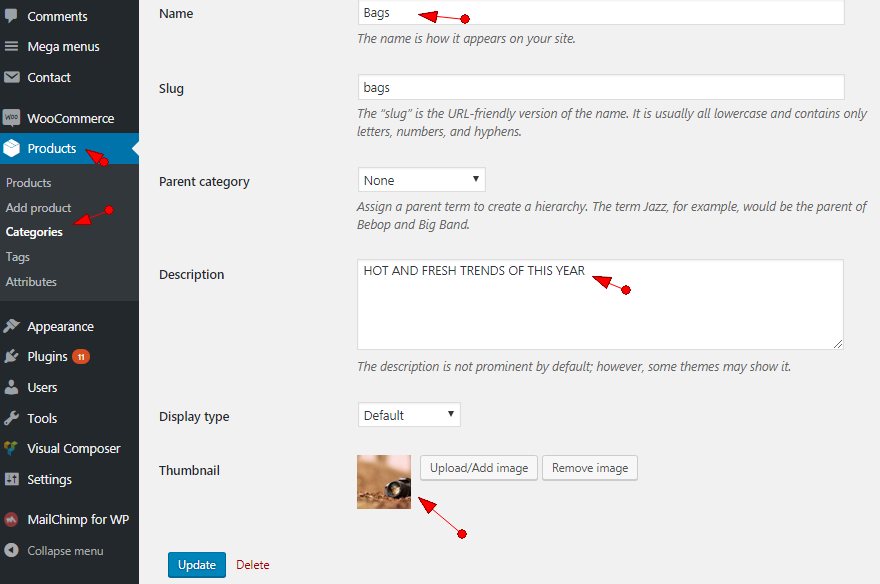
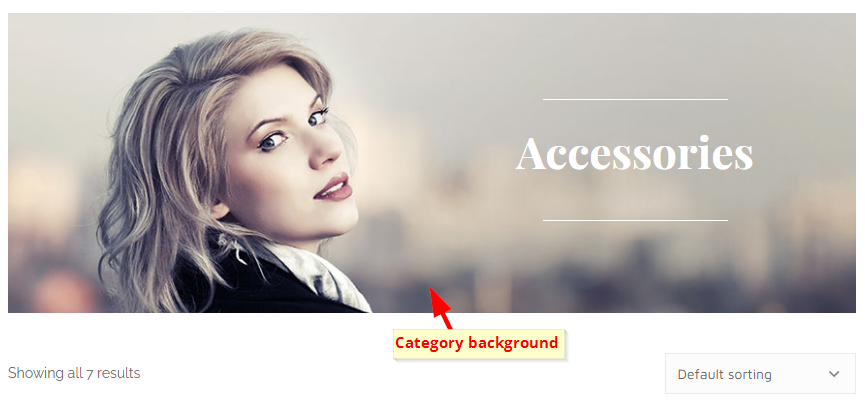
Create Banner in Category Page
- Go to Products tab and choose your category
- Insert Description
- Upload category photo

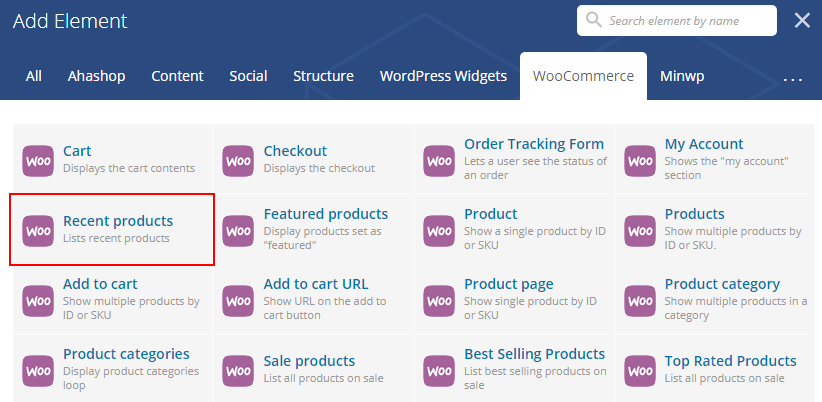
Create Recent Product
Firstly make sure that Visual Composer & Woocommerce plugin that installed and actived
Please follow this guide to know how to use Shortcode
Then click Woocommerce tab and choose Recent Products shortcode as following
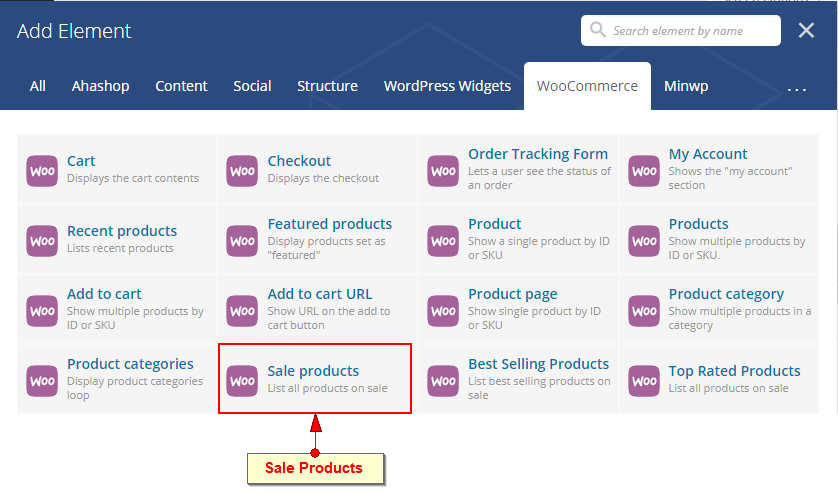
Create Sale Product
Firstly make sure that Visual Composer & Woocommerce plugin that installed and actived
Please follow this guide to know how to use Shortcode
Then click Woocommerce tab and choose Sale Product shortcode as following
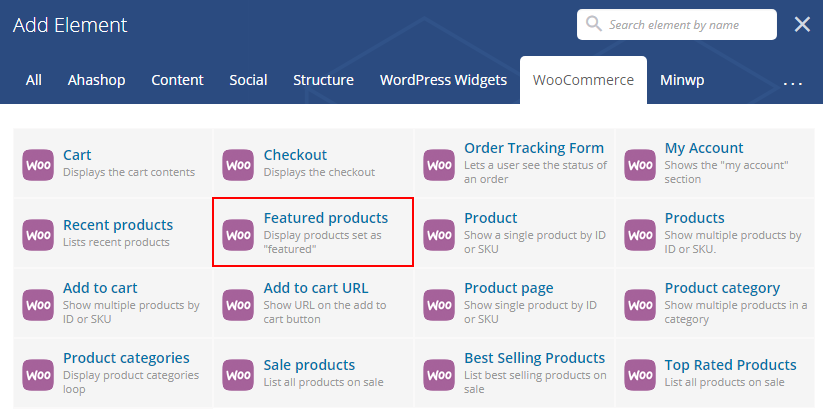
Create Featured Product
Firstly make sure that Visual Composer & Woocommerce plugin that installed and actived
Please follow this guide to know how to use Shortcode
Then click Woocommerce tab and choose Featured Products shortcode as following
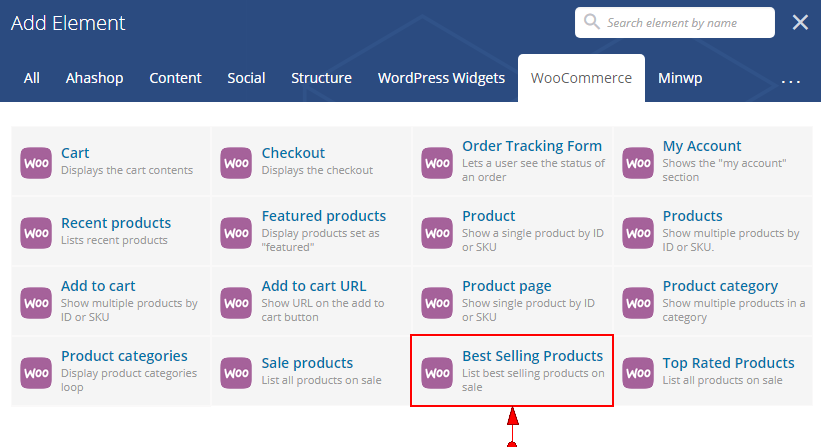
Create Best Selling Product
Firstly make sure that Visual Composer & Woocommerce plugin that installed and actived
Please follow this guide to know how to use Shortcode
Then click Woocommerce tab and choose Best Selling Products shortcode as following
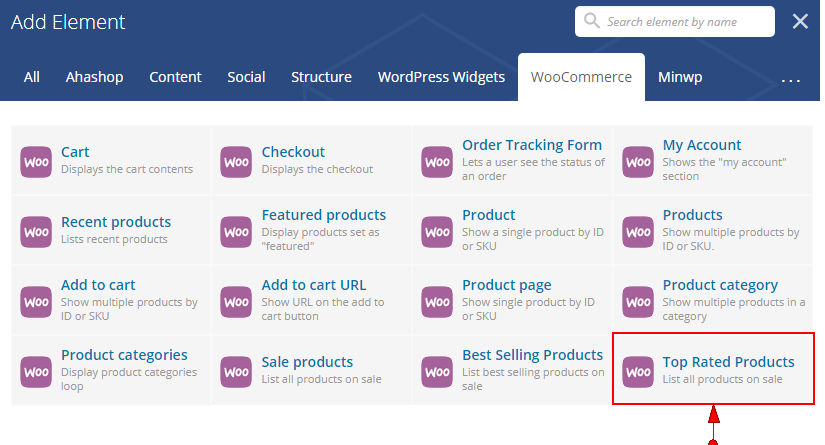
Create Top Rated Product
Firstly make sure that Visual Composer & Woocommerce plugin that installed and actived
Please follow this guide to know how to use Shortcode
Then click Woocommerce tab and choose Top Rated Products shortcode as following
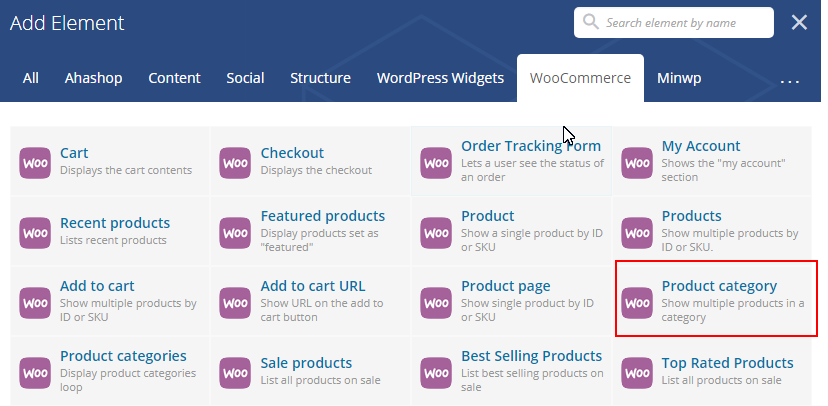
Create Product Category
Firstly make sure that Visual Composer & Woocommerce plugin that installed and actived
Please follow this guide to know how to use Shortcode
Then click Woocommerce tab and choose Product Category shortcode as following
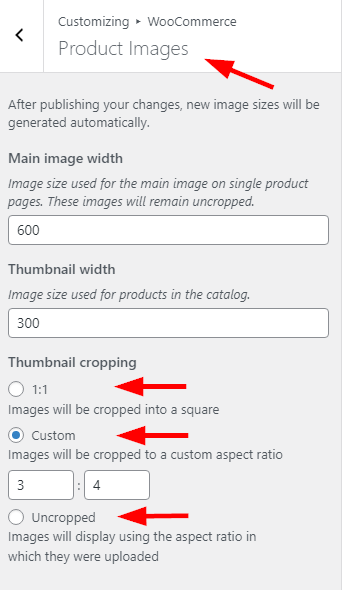
Crop the product photos
You can modify the photo dimensions such as square, portrait & landscape rectange or use origin size by going to WooCommere > Product images > Thumbnail cropping
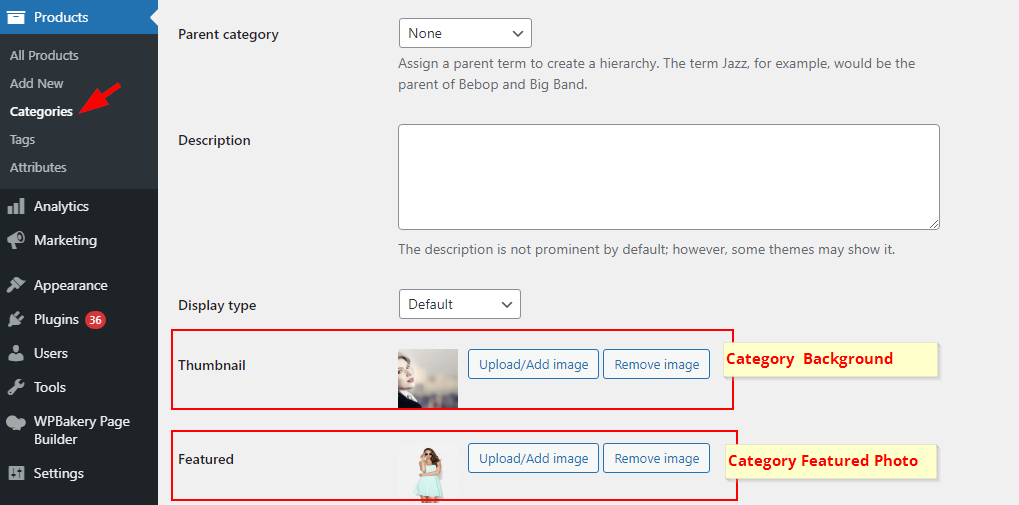
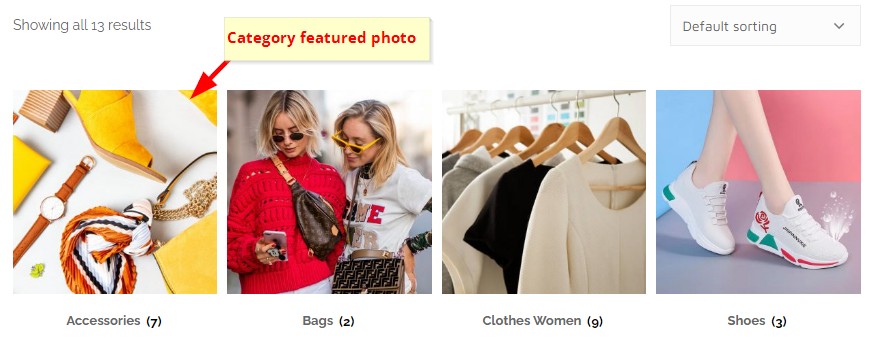
Category photos
In this section, we have 2 setting options
- Thumbnail: it's category photo background, it will be displayed in the category page details
- Featured: it's category photo which will be shown in the Shop page togethe with other categories
Create Variable Products
Please see more these videos:
https://www.youtube.com/watch?v=Lalb-8G05Z8
https://www.youtube.com/watch?v=TaEbDsXuAc8
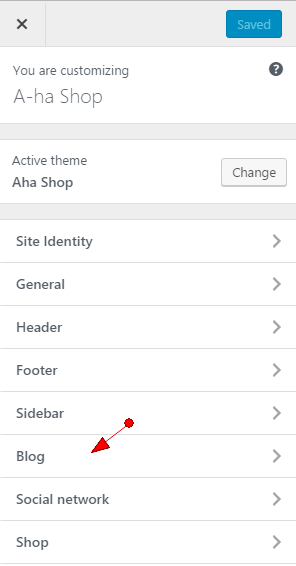
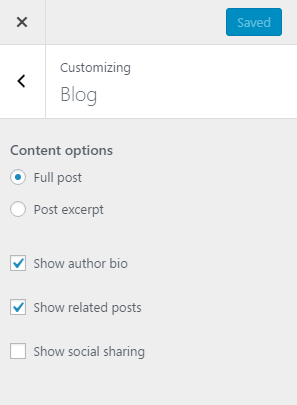
Blog
In this section, you can customize all things that relate to your blog such as the way of content appearance, hide social share, hide author or hide releated posts
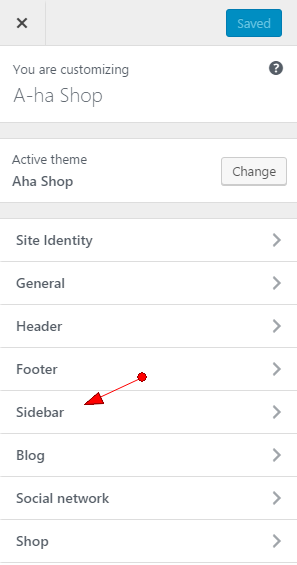
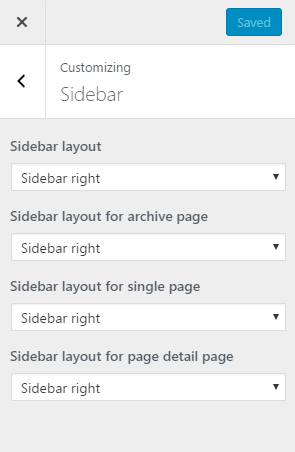
Sidebar Pages
Just go to Customize > Sidebar
Sidebar is very flexible, you can config for all pages or each specific page such as categories, tags page, detail page.
Sidebar Widget
Just go to Appearance > Widges.
Then please drag and drop widgets within Sidebar Area

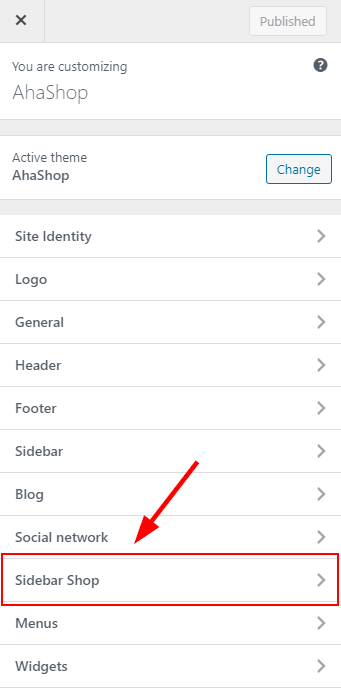
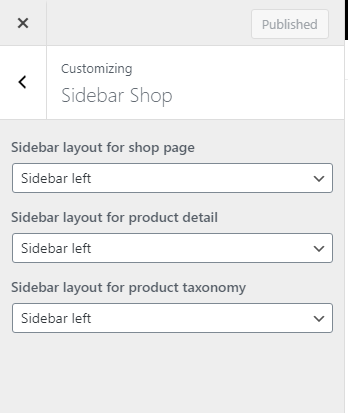
Sidebar Shop Pages
WooCommerce plugin must be actived before you can see this Shop tab in Customize
Then go to Customize > Sidebar Shop you can config sidebar for shop pages such as list products page, categories/tags page, detail product page.
Sidebar Shop widget
Just go to Appearance > Widges
Then please drag and drop widgets within Shop Sidebar

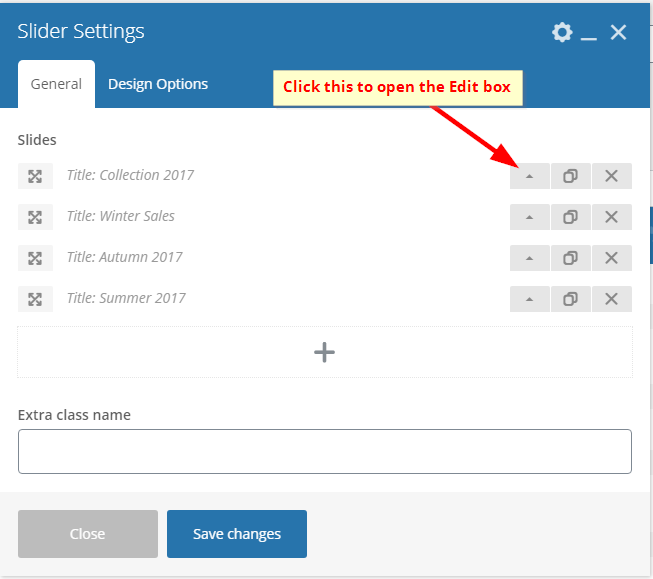
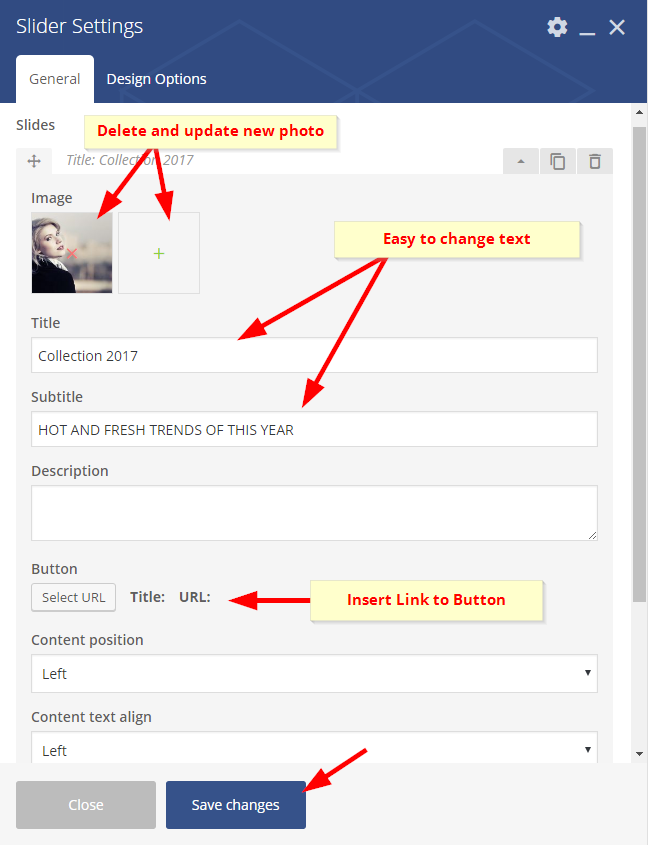
Create Slider
Firstly make sure that Visual Composer & Woocommerce plugin that installed and actived
Please follow this guide to know how to use Shortcode
Then click AhaShop tab and choose Slider shortcode as following

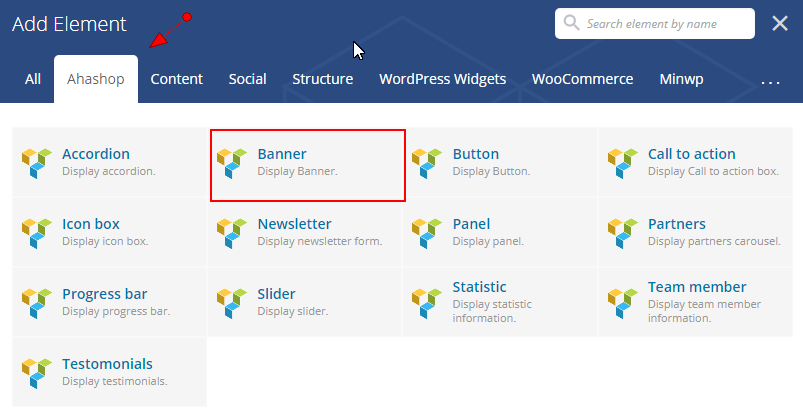
Create Photo Banner
Firstly make sure that Visual Composer & Woocommerce plugin that installed and actived
Please follow this guide to know how to use Shortcode
Then click AhaShop tab and choose Banner shortcode as following

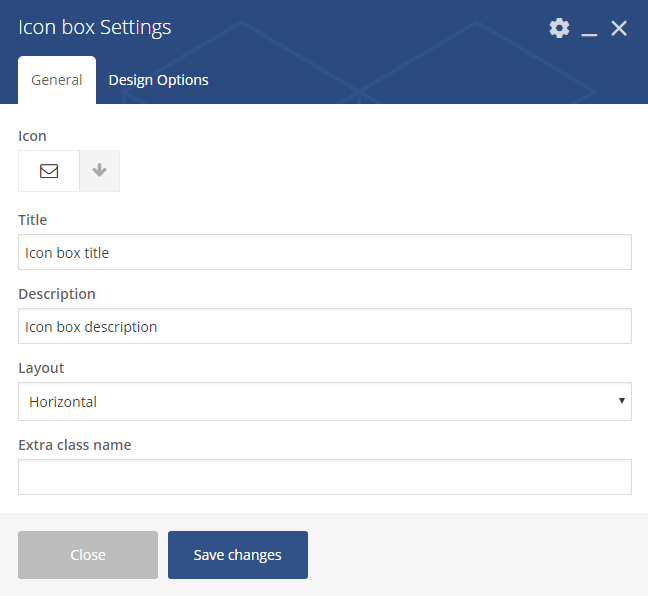
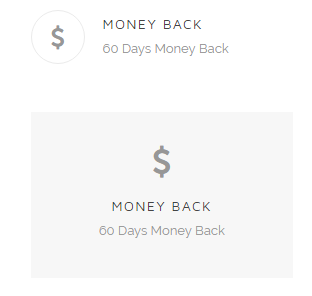
Iconbox
Firstly make sure that Visual Composer & Woocommerce plugin that installed and actived
Please follow this guide to know how to use Shortcode
Then click AhaShop tab and choose Iconbox shortcode as following
Partner/Brand
Firstly make sure that Visual Composer & Woocommerce plugin that installed and actived
Please follow this guide to know how to use Shortcode
Then click AhaShop tab and choose Partner/Brand shortcode as following


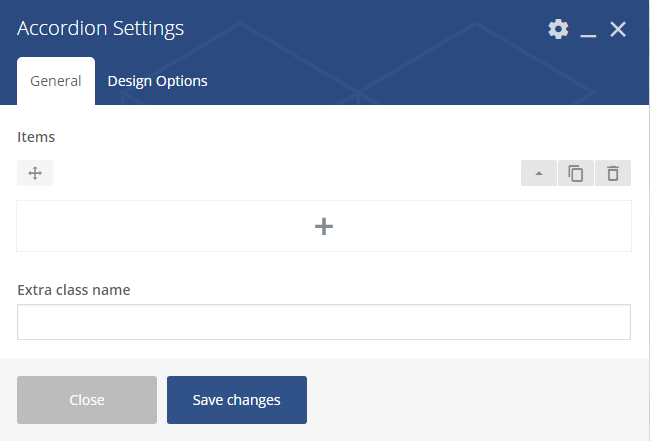
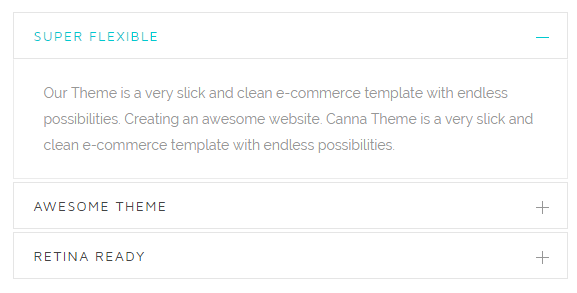
Accordion
Firstly make sure that Visual Composer & Woocommerce plugin that installed and actived
Please follow this guide to know how to use Shortcode
Then click AhaShop tab and choose Accordion shortcode as following
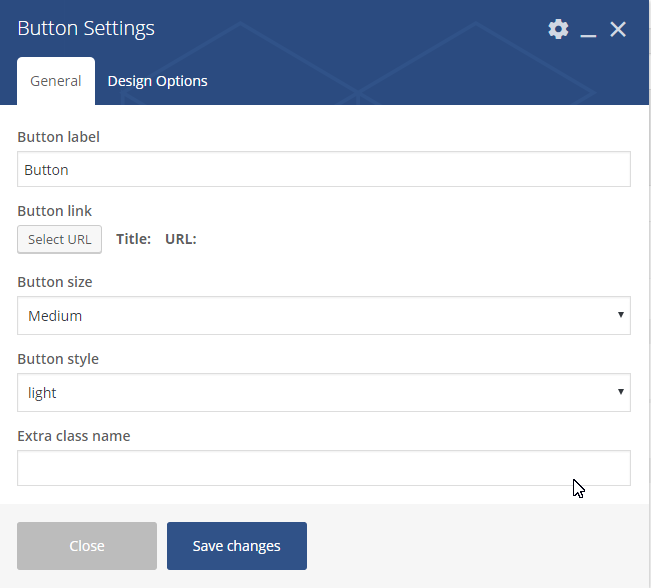
Button
Firstly make sure that Visual Composer & Woocommerce plugin that installed and actived
Please follow this guide to know how to use Shortcode
Then click AhaShop tab and choose Button shortcode as following
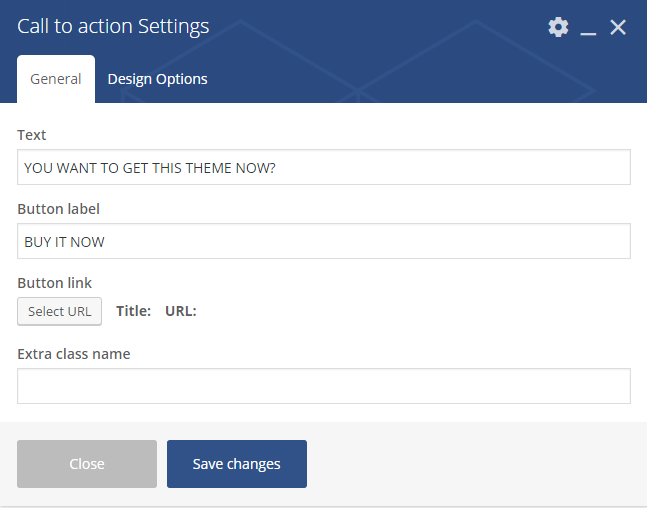
Call To Action
Firstly make sure that Visual Composer & Woocommerce plugin that installed and actived
Please follow this guide to know how to use Shortcode
Then click AhaShop tab and choose Call To Action shortcode as following
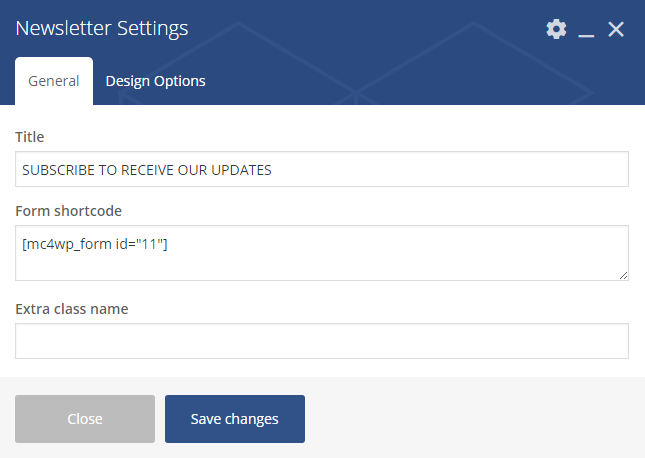
Newsletter
This is required that you have to install Mailchimp for WordPress
Firstly make sure that Visual Composer & Woocommerce plugin that installed and actived
Please follow this guide to know how to use Shortcode
Then click AhaShop tab and choose Newsletter shortcode as following

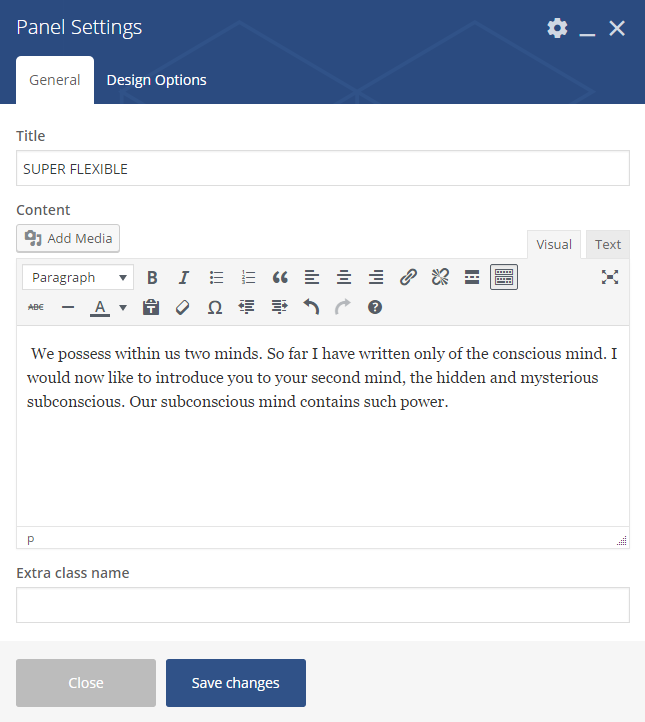
Panel
Firstly make sure that Visual Composer & Woocommerce plugin that installed and actived
Please follow this guide to know how to use Shortcode
Then click AhaShop tab and choose Panel shortcode as following
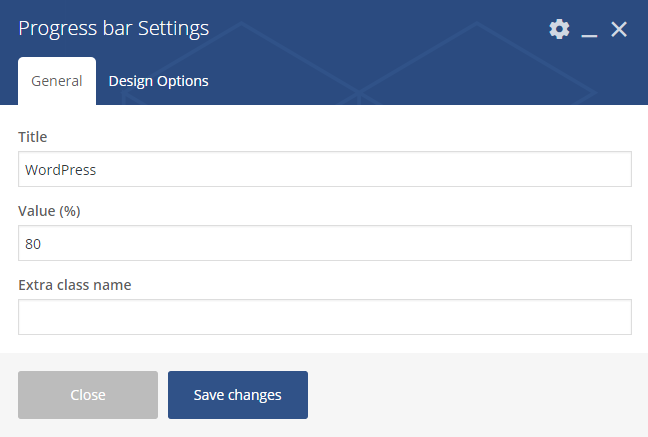
Progress
Firstly make sure that Visual Composer & Woocommerce plugin that installed and actived
Please follow this guide to know how to use Shortcode
Then click AhaShop tab and choose Progress shortcode as following

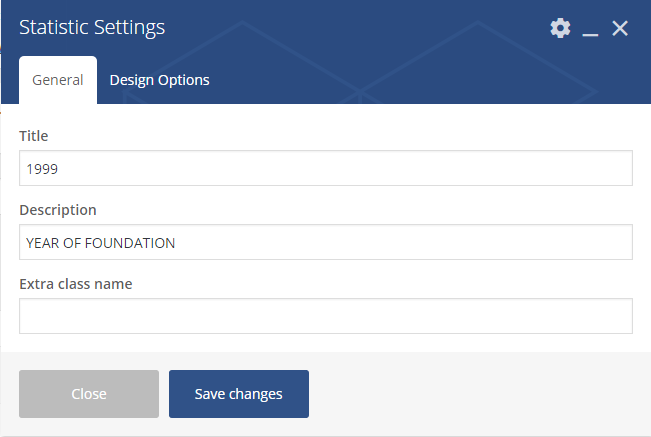
Statistic
Firstly make sure that Visual Composer & Woocommerce plugin that installed and actived
Please follow this guide to know how to use Shortcode
Then click AhaShop tab and choose Statistic shortcode as following

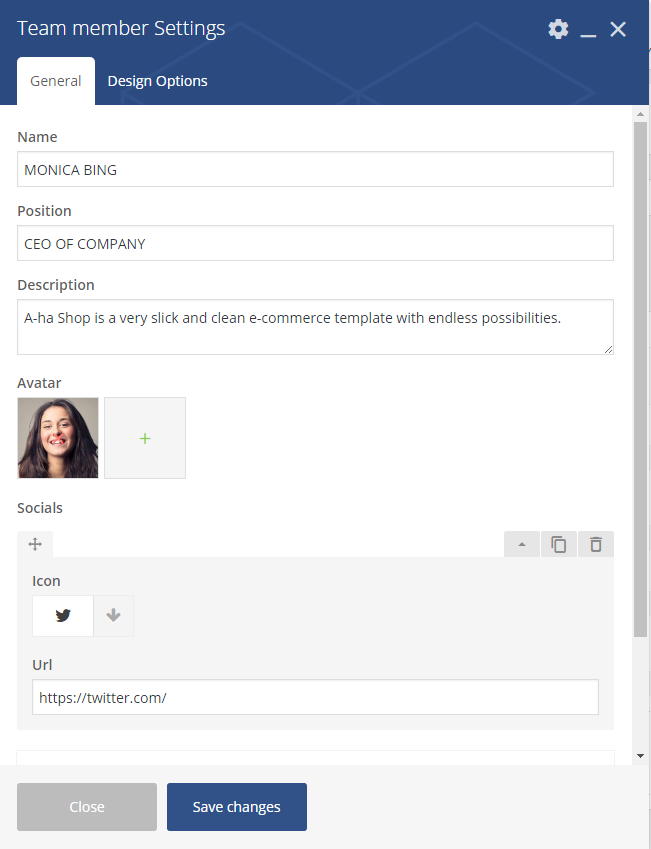
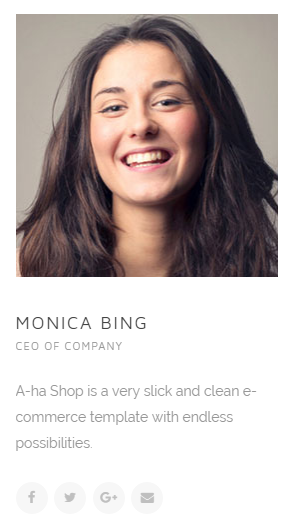
Team
Firstly make sure that Visual Composer & Woocommerce plugin that installed and actived
Please follow this guide to know how to use Shortcode
Then click AhaShop tab and choose Team shortcode as following
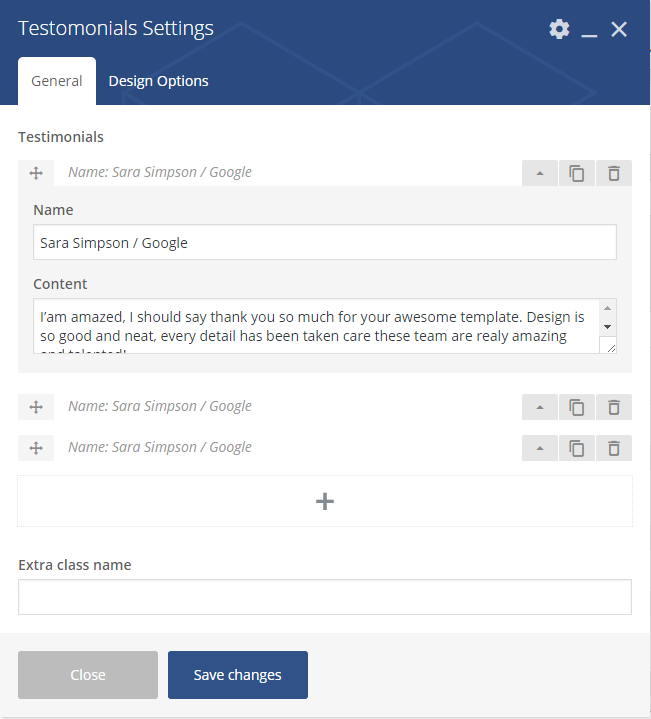
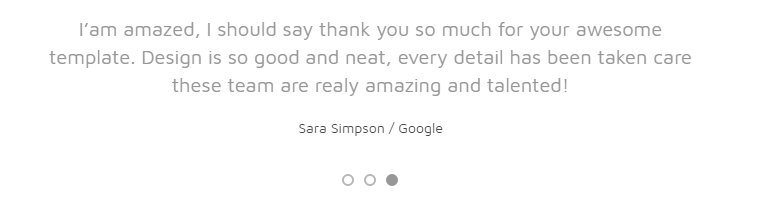
Testimonial
Firstly make sure that Visual Composer & Woocommerce plugin that installed and actived
Please follow this guide to know how to use Shortcode
Then click AhaShop tab and choose Testimonial shortcode as following
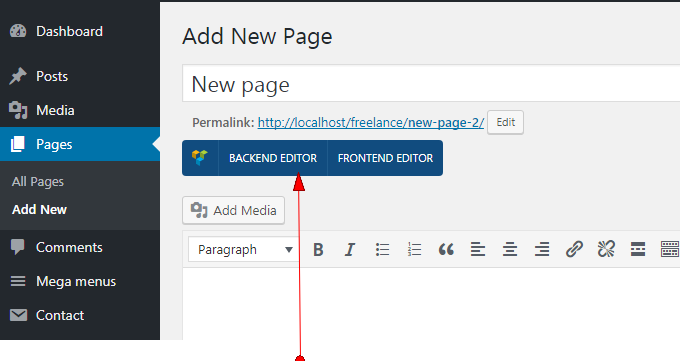
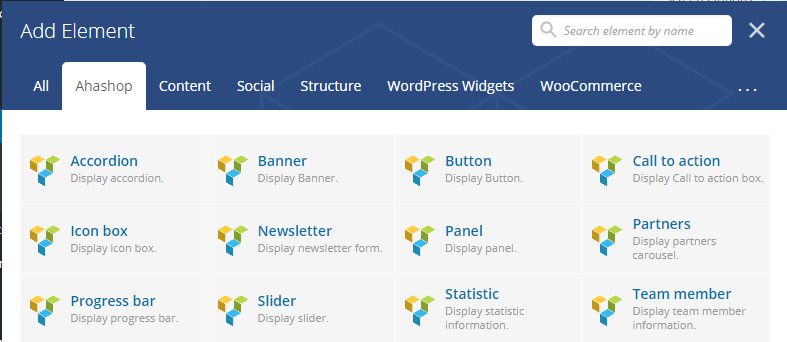
How to user Shortcode
Please make sure that Visual Composer plugin installed and actived on your site.
- Move to Backed Editor (builder interface) mode
- Click Plus icon or click Add Element button to insert shortcode to page/post content
- The lightbox will be showed and contains so many shortcodes

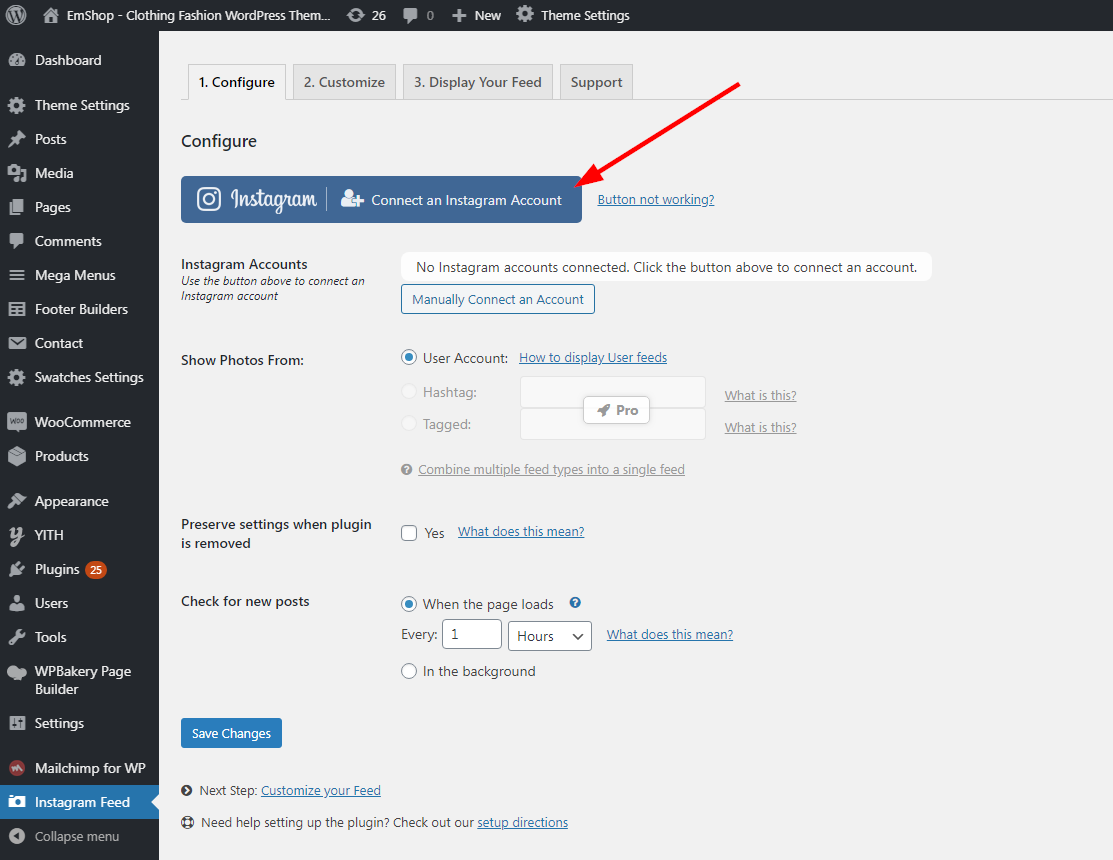
How to use Instagram Plugin
Please make sure that Visual Composer plugin installed and actived on your site.
- Install & active this plugin Smash Balloon Social Photo Feed
- Connect to your install account in Instagram Feed > Configure tab
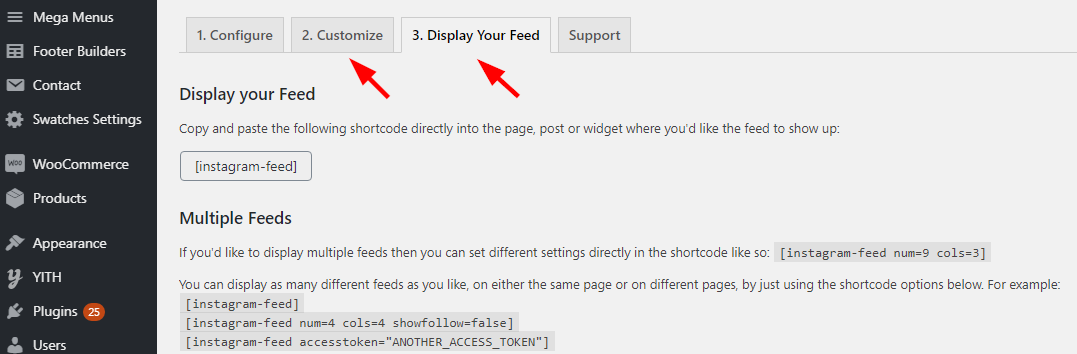
- Get Instagram Shortcode from Display Your Feed tab
- Can edit style in Customize & Display Your Feed tab of Instagram Feed area
- Use Text Block of Visual Composer and insert Instagram Shortcode in your page


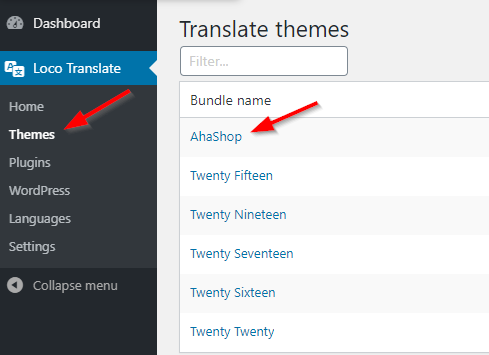
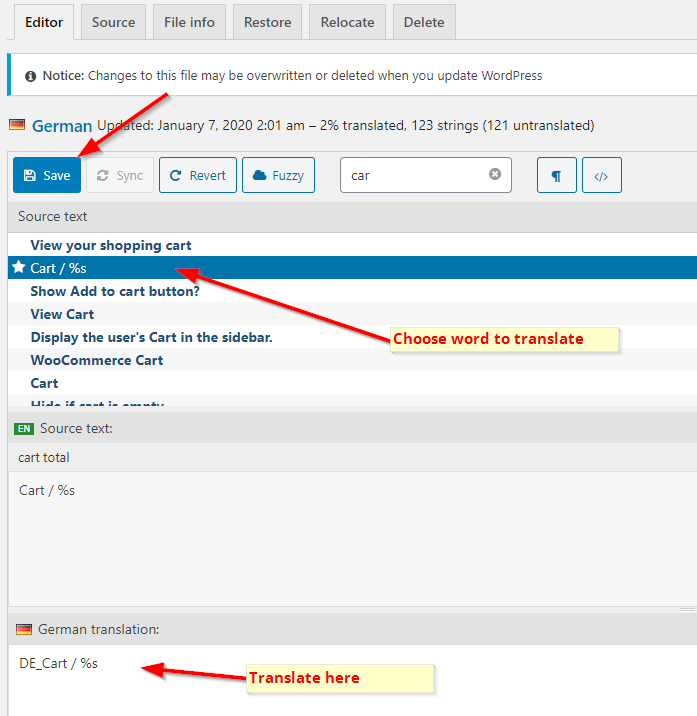
How to use Loco Plugin
Please make sure that Loco plugin installed and actived on your site.
- Install & active this plugin Loco Translate
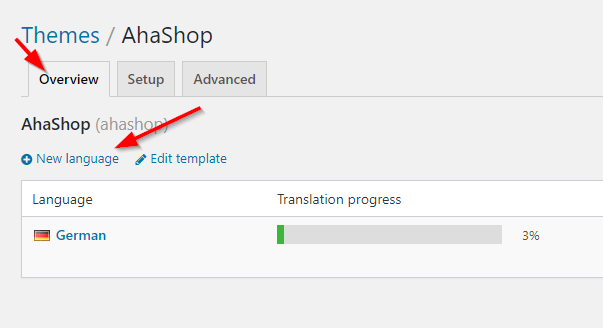
- Go to Loco Translate > Themes > Ahashop
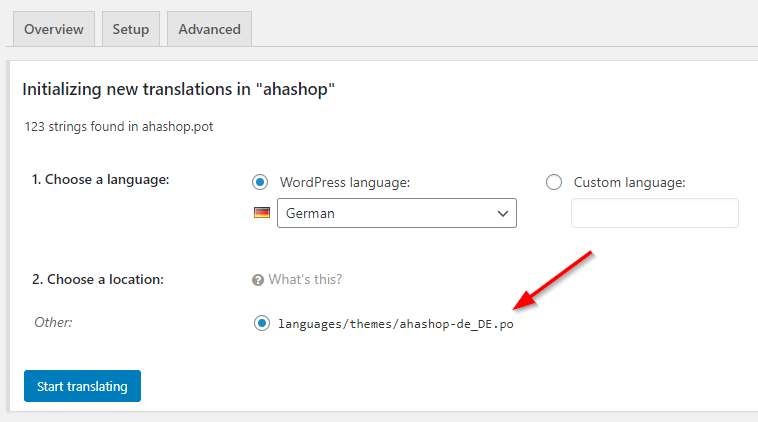
- Choose New Language in Overview tab
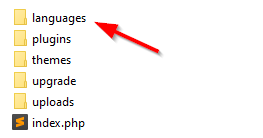
- NOTE: you should save translation .PO file to wp-content/languages/themes/..., please see screenshot below
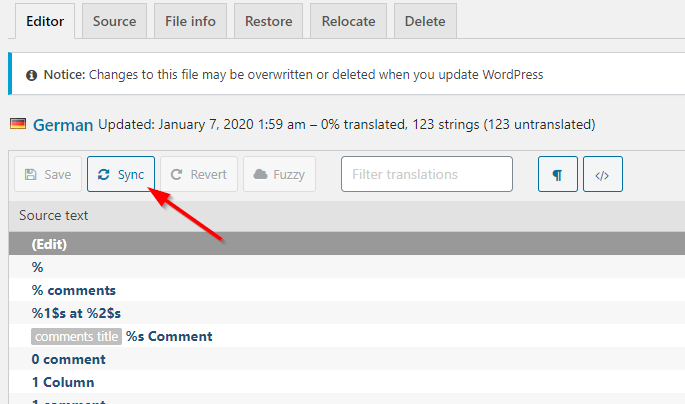
- Click SYNC button to make sure you can translate all words in theme
- Choose word to translate and click SAVE button
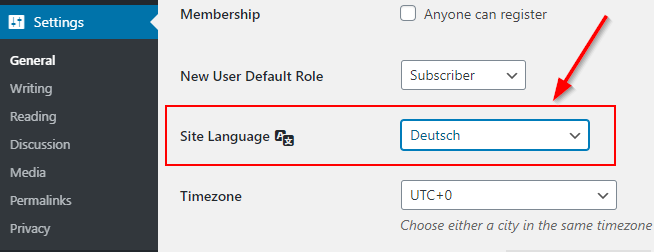
- The final, you have choose your exactly language in Dashboard admin, Settings > General
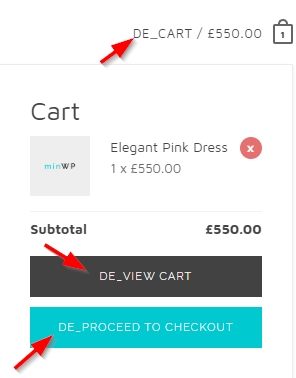
- The final, please clear browser's cache and view your site
Or you can review this tutorial video: https://www.youtube.com/watch?v=GHqJiuH-zfE
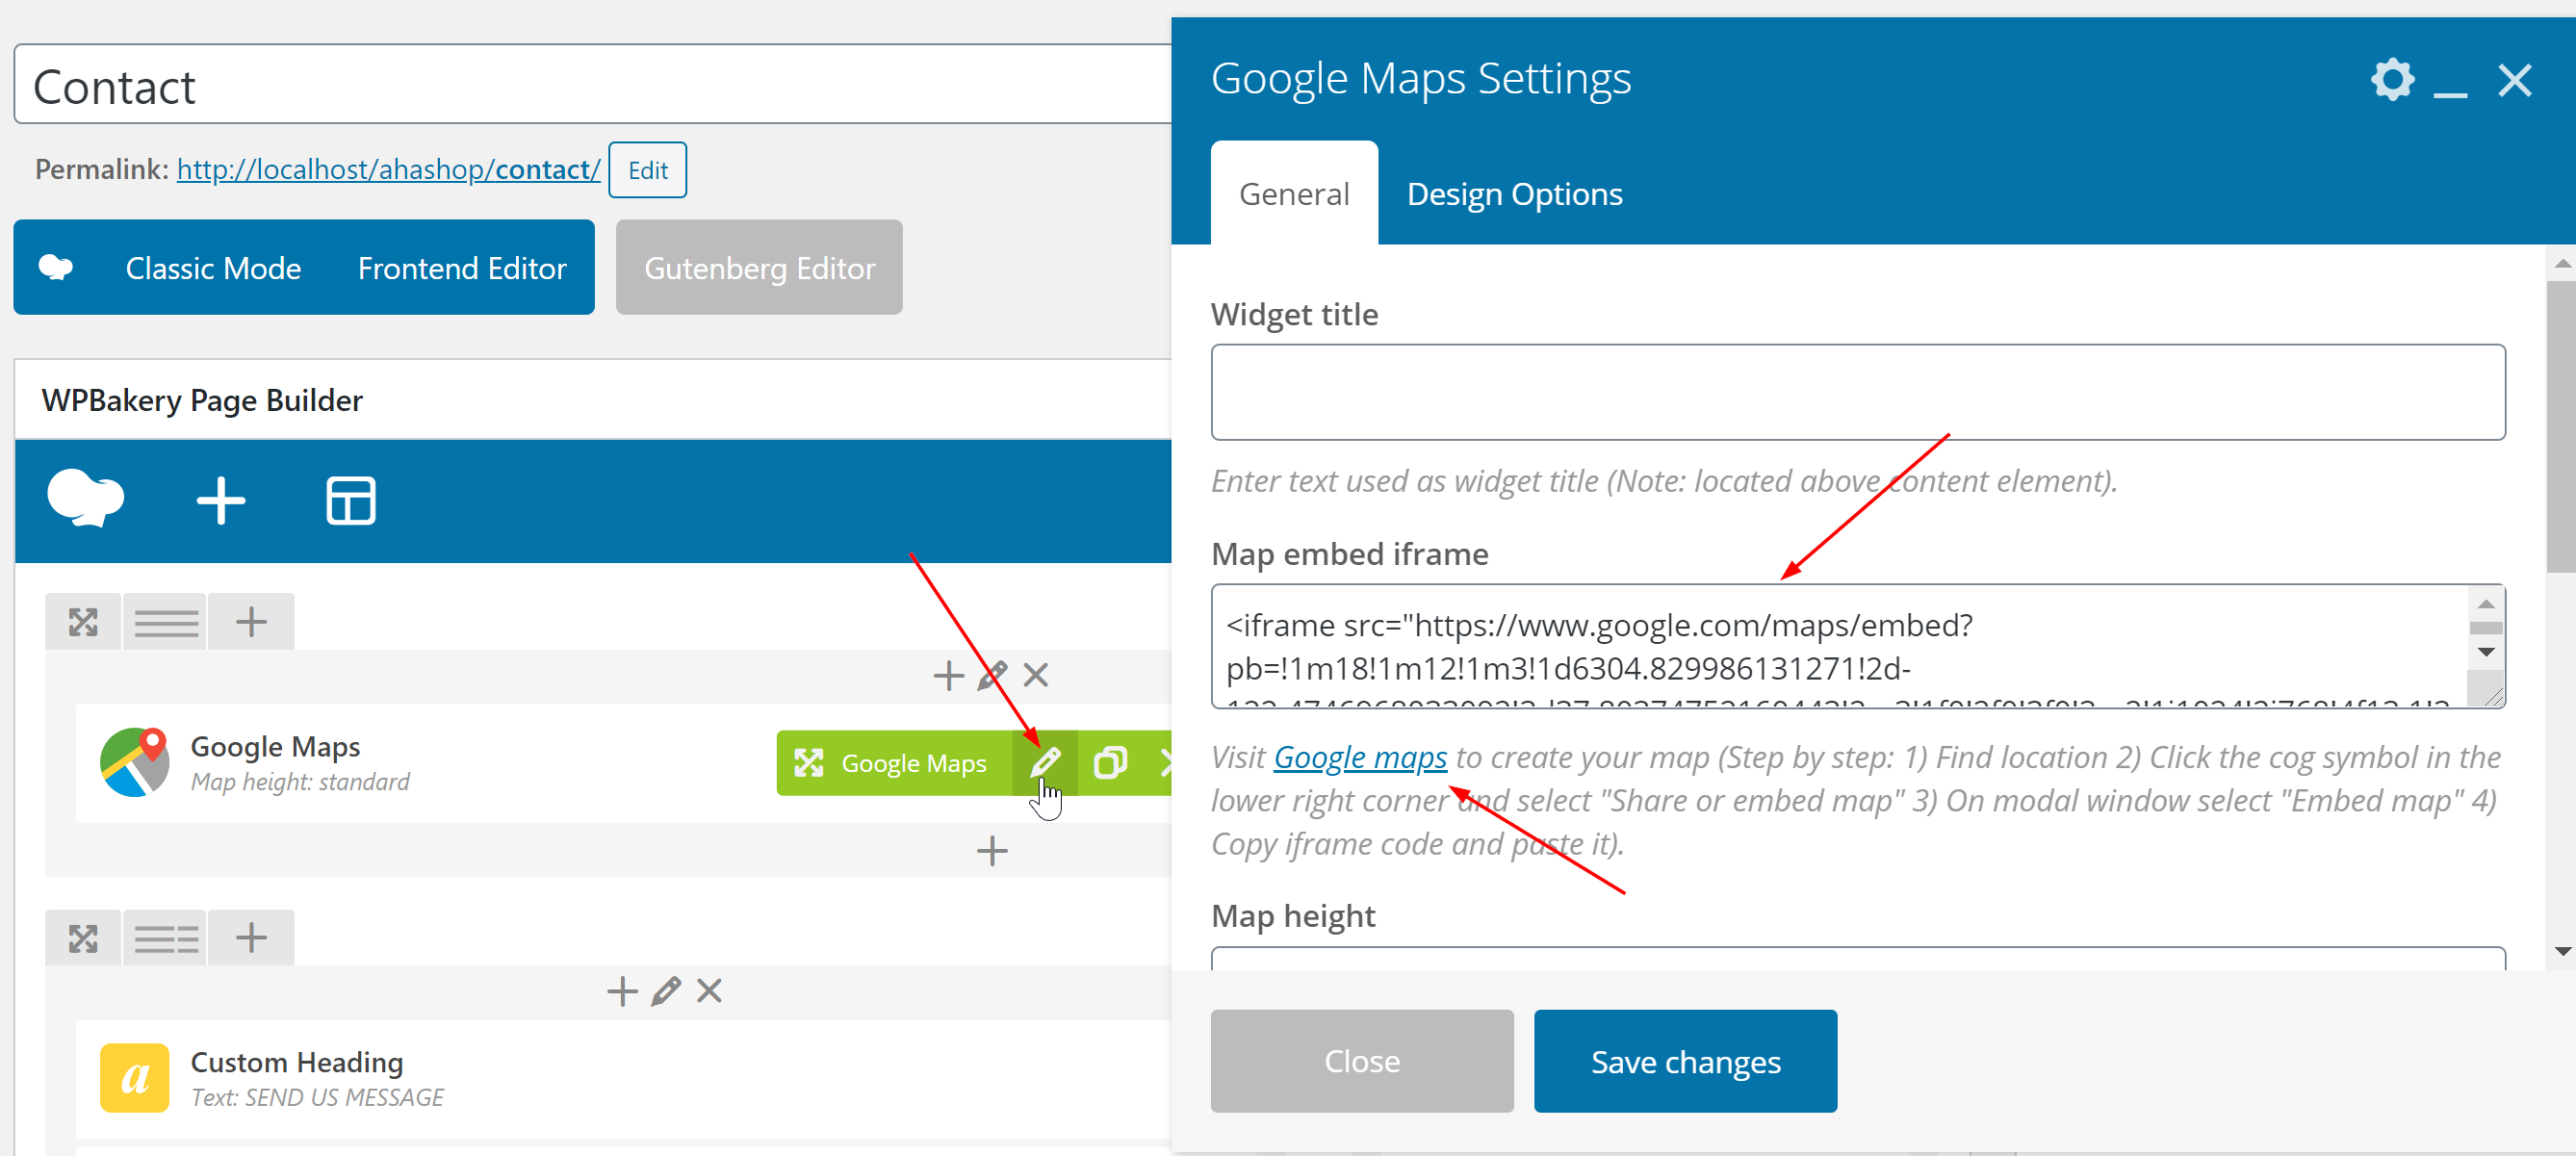
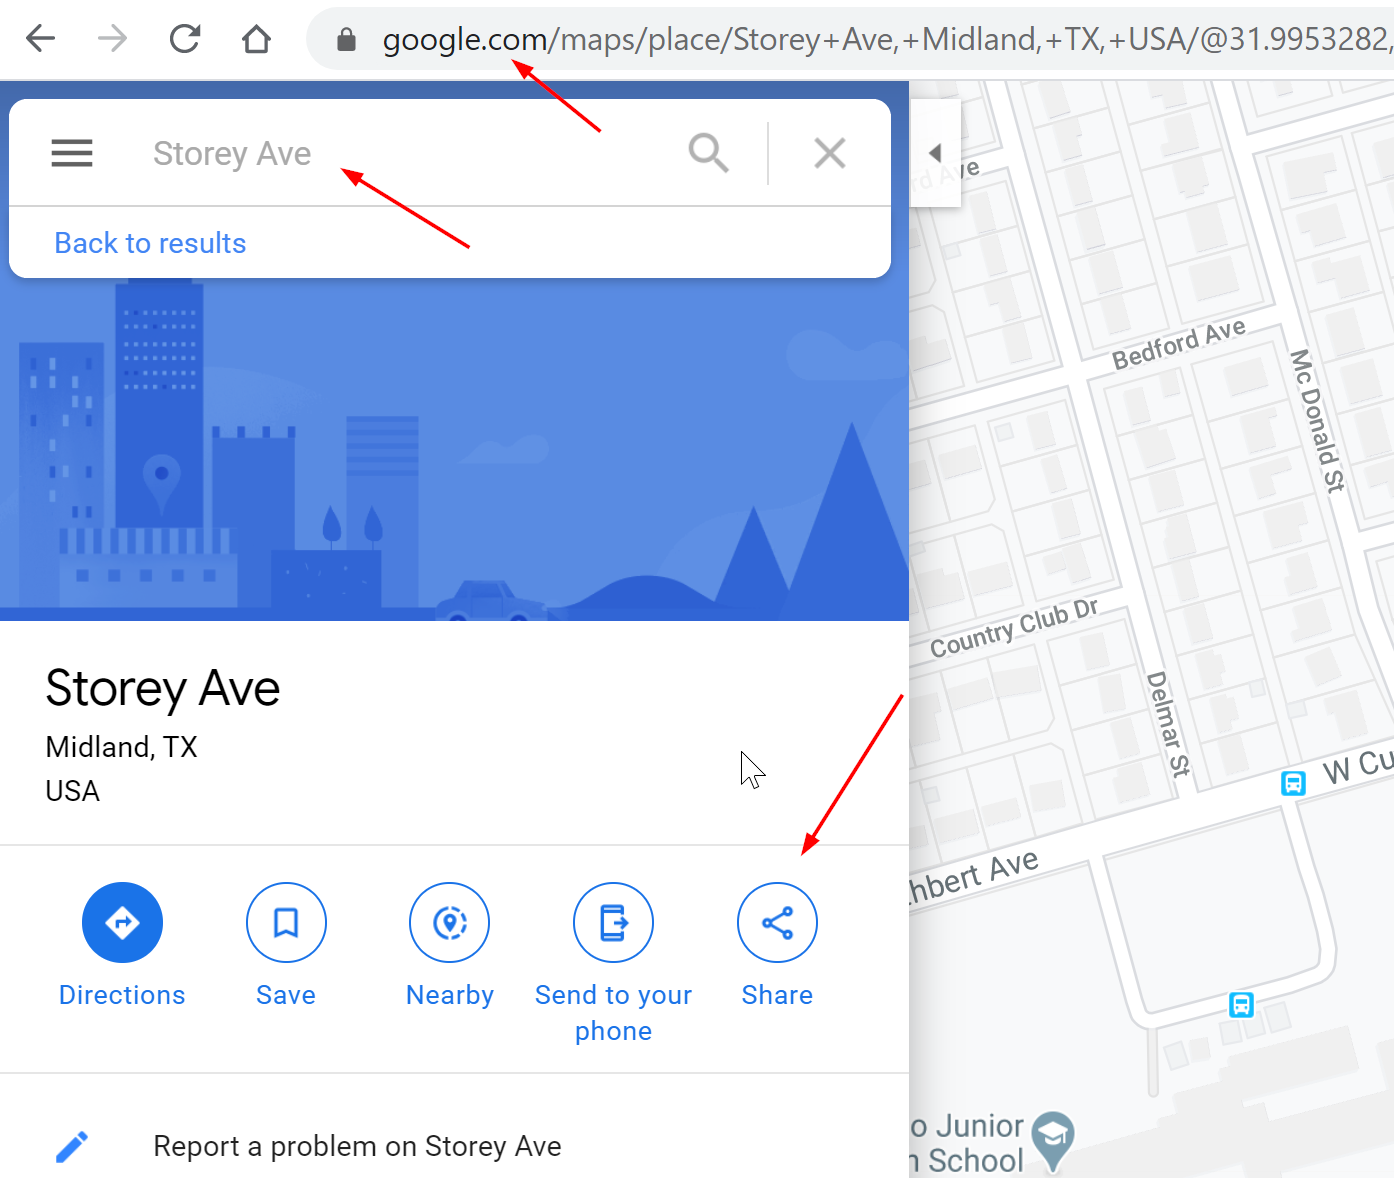
How to user Shortcode Google Maps
- Go to Google map and search your address
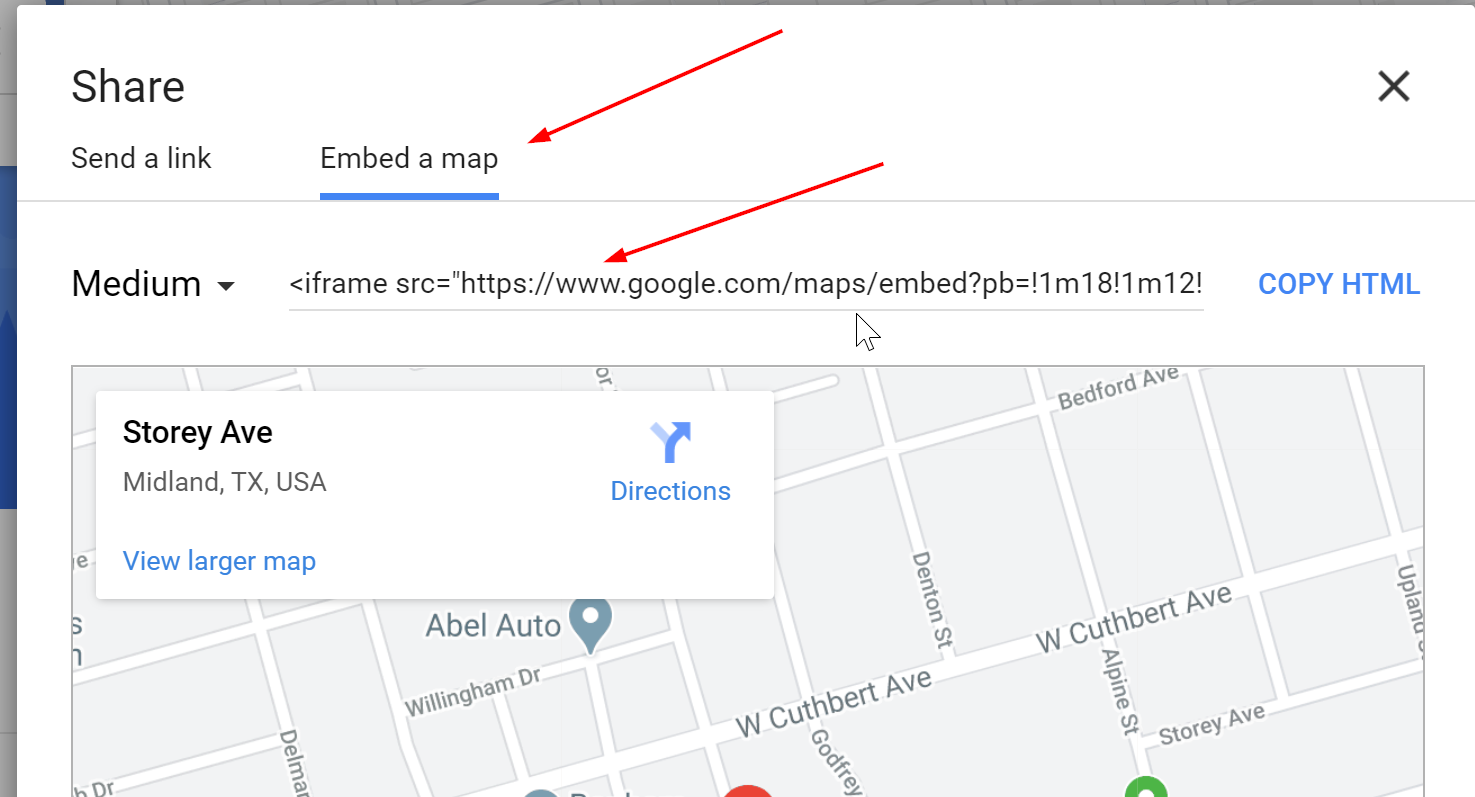
- Click SHARE icon to show a popup
- Copy iframe code from Embed a map tab
- Then, paste code to Map embed iframe textarea field in Shortcode Google Maps
How to Vote/Reivew
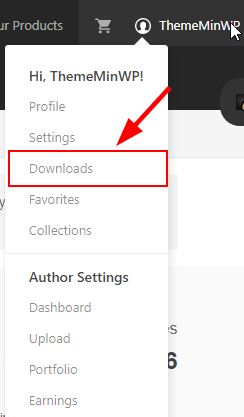
- Go to themeforest.net home page
- On the top right of page, click on your username and choose Download tab
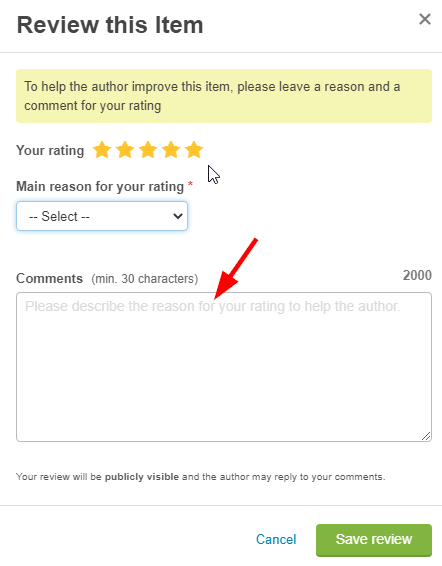
- You see my theme and let vote 5star in Rate_this_item box
- You also can send me some best review